The latest edition of the manual (V6.0) has been released. Only modest changes since the last update including :
- Edits, corrections, reformatting and section renumbering.
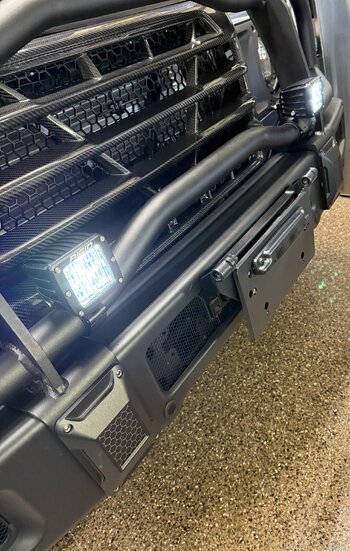
- Table 1, Add Aux light high beam NAS operation.
- Table 7. Additional part numbers.
- Table 9. Wheel load ratings.
- Sect 7.4, 7.5 and Table 7. Corrected Z-Case fuse stud diameters.
- Sect 8.1 Battery charging and monitoring.
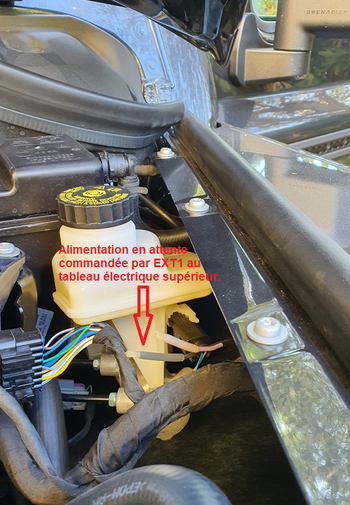
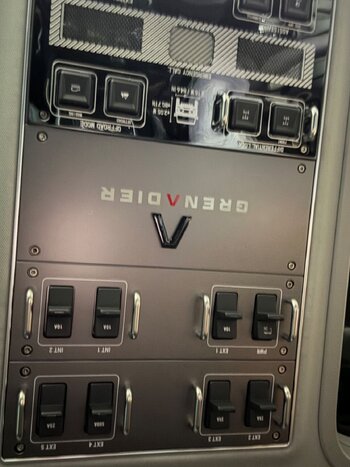
- Sect 11.1. Trailer electrical adaptor diode commentary.
- Sect 13.6. Coolant purge procedure updated/corrected.
- Sect 13.9 Tyre rotation link.
- Updated references.
Download using the updated link in post #1. If you have any problems downloading please let me know.
Thank you all for your positive feed back, contributions and suggestions, it's really appreciated.
As the manual develops I am finding that my list of ideas for additions is getting very short. At present I'm on the lookout for well written and illustrated basic maintenance procedures. So if you have any contributions please let me know.
Enjoy!
Cheers
Steve