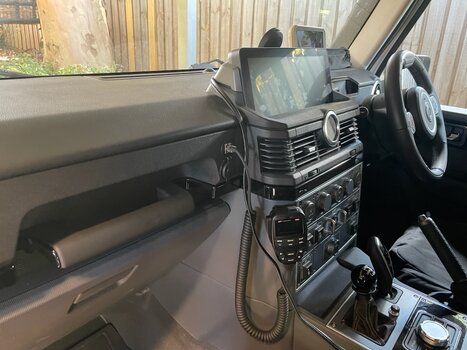
@chrsbe I would be interested in that 3D scan of the glove box if you are willing to share. I wonder if we should consider a "scans" section of the Resources page on this forum. I'm not sure how many CAD-capable members we have but I find a lot of chatter that makes me think it is more than a few people.Yes, it is a 3d print. I made a 3d scan of the inside of the glove box. The drawing is based on this data. I can share the 3d file if it is of any interest. All you need is a 3d printer or a print service.
The other thing you spotted is a cup holder that sits well inside the cup holder.My Yeti mug now fits. It's not perfect yet. I am going to do a second version sometime....
The Grenadier Forum
Register a free account today to become a member! Once signed in, you'll be able to contribute to the community by adding your own topics, posts, and connect with other members through your own private inbox! INEOS Agents, Dealers or Commercial vendors please use the contact us link at the bottom of the page.
-
Guest submit your best shot for a chance to win the December Photo Contest. Photo Contest Click Here
You are using an out of date browser. It may not display this or other websites correctly.
You should upgrade or use an alternative browser.
You should upgrade or use an alternative browser.
Show us your mods.
- Thread starter Tom D
- Start date
-
- Tags
- mods power inverter
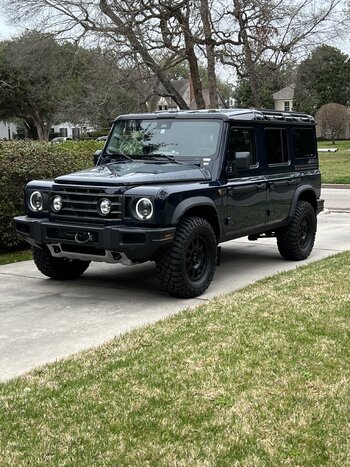
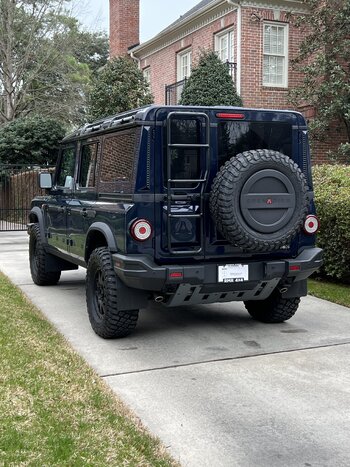
Made an additional 12 V connection for the fridge, right side under the backseat. With a switch and additional fuse of 10A


Made an additional 12 V connection for the fridge, right side under the backseat. With a switch and additional fuse of 10AView attachment 7844384View attachment 7844385View attachment 7844386
Where/how did you connect it to batter power?
With the additional auxiliary power cable, which are in the battery comparetment. But they have power all the time, no switch.
The yellow cable is the Impuls from ignition, which I didńt want/use.
Fuse is FI113. The 12V port have 10A Fuse too.
The cable is at the starter battery, but I trust the smart pass 120…..
The yellow cable is the Impuls from ignition, which I didńt want/use.
Fuse is FI113. The 12V port have 10A Fuse too.
The cable is at the starter battery, but I trust the smart pass 120…..
Fitted a wee 300w inverter. Enough power for what I need, which will only be a MacBook Pro and a Makita battery charger.
I chose this one because it fits perfectly on the bottle jack holder and it has a low enough draw to be spliced in to the aux socket in the boot. The fuses are on the back so I used zip ties to secure it in case I need to pull it out to change one. It’s nice and secure and is cushioned by the neoprene which was already on the jack holder.
I cut a small channel to allow the wire of the Makita charger to pass through the cover. I then mounted the charger on the side of the trim. I’m very happy with the result.
The inverter is a https://www.amazon.co.uk/dp/B086W5PVMG/?tag=globalgrena0b-20
Attachments
Welcome to the club!
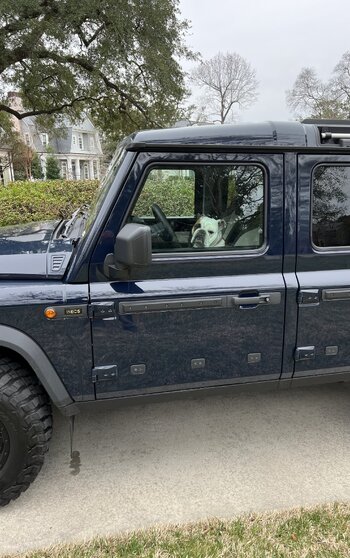
Check out my sig and link to the dog page to tell us a bit about your security system
Check out my sig and link to the dog page to tell us a bit about your security system
Thanks  !
!
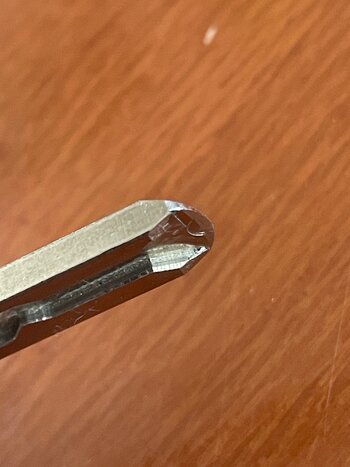
For all the KEY issue holders...when I first received the Gren I thought the key entry was a bit clunky and not sliding easily...With a fine sharp file, I have refined the entry point bumps by tapering them back and rounding off the edges and it is now a treat to use...with the tip of your forefinger to guide, it now slides in seamlessly 
Attachments
Somewhere in the forum I read that someone added magnetic LEDs to the @Bison-Gear roof rack. I really like the idea, so I ordered some on A**z**...
They have a motion detection...


I think it improves a lot...
Oh, and regarding the "blinding" rear numbre plate lights, I asked a friend to "construct" something...
Look promising... Sunshades


They have a motion detection...
I think it improves a lot...
Oh, and regarding the "blinding" rear numbre plate lights, I asked a friend to "construct" something...
Look promising... Sunshades
It’s the 85l one I have added the fan mod to it which works wonders.What's the size of the fridge?
Exactly the same set up I have planned for the rear minus the drawer under the fridge.It’s the 85l one I have added the fan mod to it which works wonders.
Yeah it’s awesome! The slim drawer below the fridge is super handy - it has a lid so can be used as a table and has plates bowls etc. I have the bisen gear shelf and it works perfectly together. Worth a look I think.Exactly the same set up I have planned for the rear minus the drawer under the fridge.
I'm putting a pull out pantry down the left of the fridge as this is wasted space for me. Should be interestingYeah it’s awesome! The slim drawer below the fridge is super handy - it has a lid so can be used as a table and has plates bowls etc. I have the bisen gear shelf and it works perfectly together. Worth a look I think.
Yeah nice! I am going to mount a vaast 18l water tank to fridge box in that space I think….still working out the finer details.I'm putting a pull out pantry down the left of the fridge as this is wasted space for me. Should be interesting
Yeah, I'm putting my inverter/dcdc charger etc behind the fridge, but like you the finer details will come in timeYeah nice! I am going to mount a vaast 18l water tank to fridge box in that space I think….still working out the finer details.
Hi Simon, I like everything you have done, although I have to say I think the bungee cord paper roll holder made me smile and it's a great idea too. DaBullHey all, thought I would post some photos of some of the mods I have added so far. Let me know what you think and happy to answer any questions.
My most favourite mod so far is the 270 awning closely followed by the bushmans upright fridge.
View attachment 7844662View attachment 7844663View attachment 7844664View attachment 7844665View attachment 7844666
Cheers,
Simon
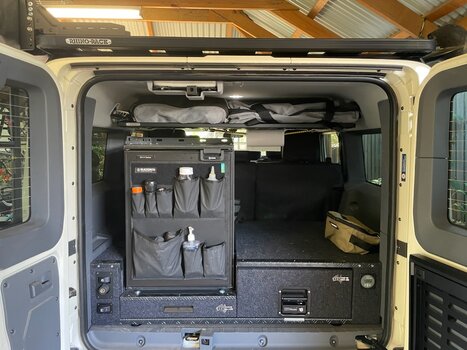
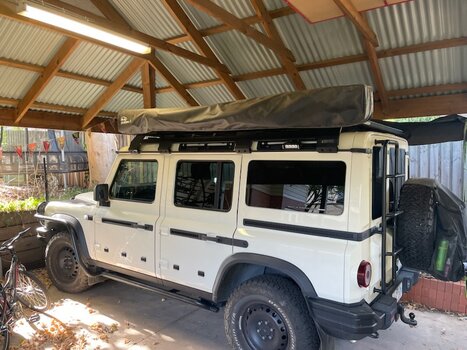
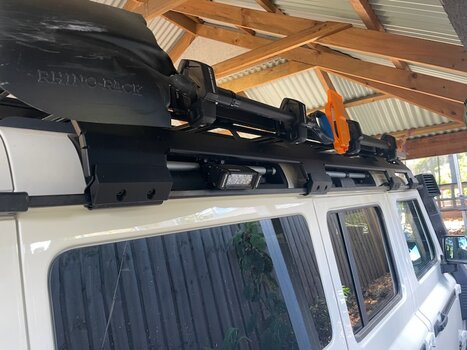
Hey all, thought I would post some photos of some of the mods I have added so far. Let me know what you think and happy to answer any questions.
My most favourite mod so far is the 270 awning closely followed by the bushmans upright fridge.
View attachment 7844662View attachment 7844663View attachment 7844664View attachment 7844665View attachment 7844666
Cheers,
Simon
Hi Simon, what brand are your drawers (can’t read on my phone), how deep are they, and is there any space between the back of the drawers and the rear seats?
Thanks.
Heheh thanks DaBull - sometimes its the lo-fi mods that work the best.Hi Simon, I like everything you have done, although I have to say I think the bungee cord paper roll holder made me smile and it's a great idea too. DaBull
Similar threads
- Replies
- 1
- Views
- 209
- Replies
- 3
- Views
- 253
- Replies
- 17
- Views
- 2K

