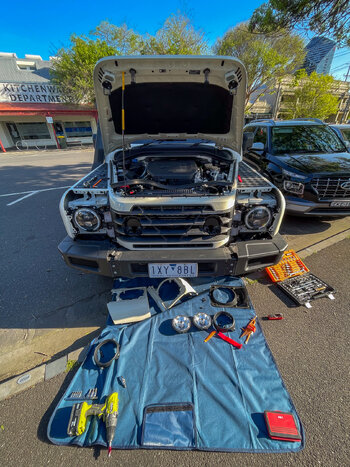
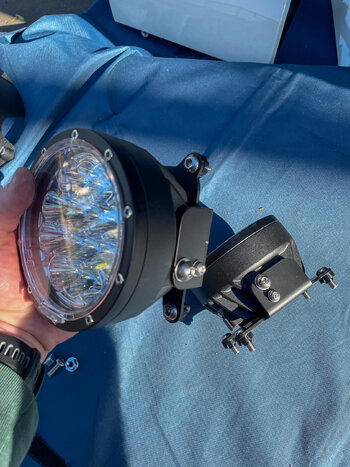
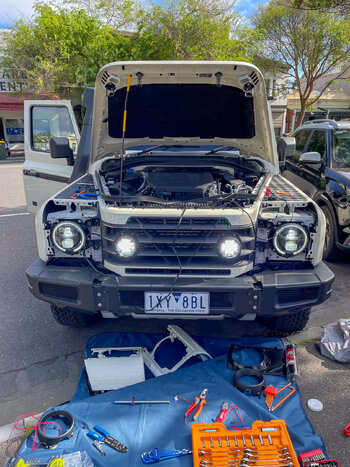
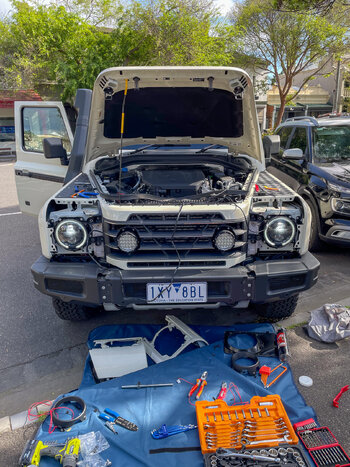
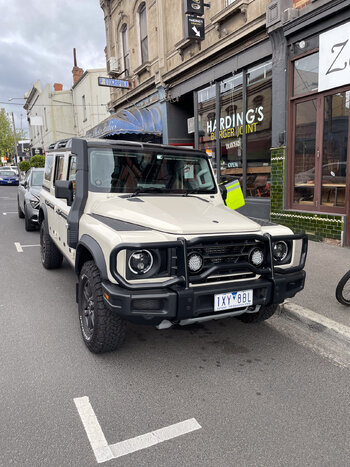
Hi Riversides, thanks a lot for the detailed description and congrats of the success of your install. The Exzeit lights look awesome!Having received the Exzeit lights and brackets ( thanks to Stu_Barnes) in the last few days, today was installation day. As I'm in the UK, the aux lights are activated via the overhead switch and power up on full beam. I decided that any install of replacement aux lights would need to replicate this. The Exzeits had to be ordered via Amazon US but were delivered for a very reasonable £89GBP all in. Compared to the stock aux lights they are great quality, well built, and come with clear and amber lens covers which are easily clipped into place. The Exzeits also come with a good quality wiring harness, with power fuse and the relay all wired up ready to go. This made the install relatively easy from a wiring point of view.
First step was tilting the grill forward as per the video instructions. It is important to remember where the various screws come from for reassembly so I took some pictures along the way in case of any brain fade. The stock lights are held in by the 3 prong rubber grommets. Unfortunately I managed to break some of the fixings on the stock lights pulling them out but as I wont be going back to stock its okay.
The Grenadier Works brackets and fitments are absolutely spot on and everything assembles together perfectly.
So, to the wiring. Looking at the front of the vehicle, I just taped up the right hand original aux connector and tie wrapped it out of the way. As all my electrical connections were to remain on the left side, I snipped the stock left hand side aux light connector off and retained the blue and white wire as my signal wire to go to the relay. The Exzeit kit is supplied with an on/off switch to install in the cab, but as i will be using the overhead switch and full beam as the trigger I removed the connector and connected the remaining wires as follows:
View attachment 7865851
The lights are powered from the following locations on the left side of the engine bay. I didnt make any further alterations to the wiring harness and the relay is just bolted to the side using an existing bolt and a new nut. There's loads of excess cable, but I just tie wrapped it up and tucked it away. I might get round to tidying that up later.
View attachment 7865852
With everything working as it should, I bolted the grill back and thankfully didn't break or lose anything in the process.
View attachment 7865853
View attachment 7865854
View attachment 7865855
So in summary, I'm extremely happy with the brackets and lights. Given the very reasonable cost and the improvement over the stock lights, I would rate it as my best modification to date. Thanks again to all involved in the design and initial testing!
For the operation of your lights I do have one question - with powering them through the fused harness of the new lights to the 150A CB (in picture) - do they still operate in the traditional fashion of selecting the existing O/H switch + turning on your high beam, or do they simply turn on every time you use your high beam? To me, that potentially looks like a great way to reserve the 25A O/H switch for something else in the future - perhaps more lights

