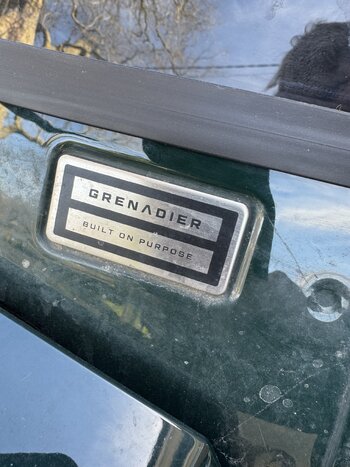
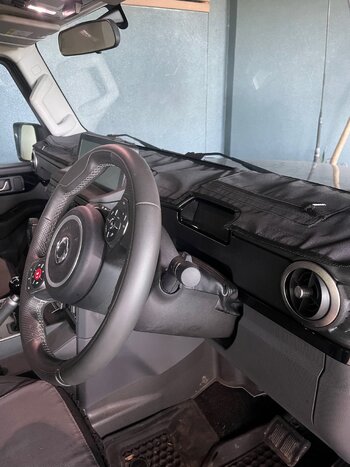
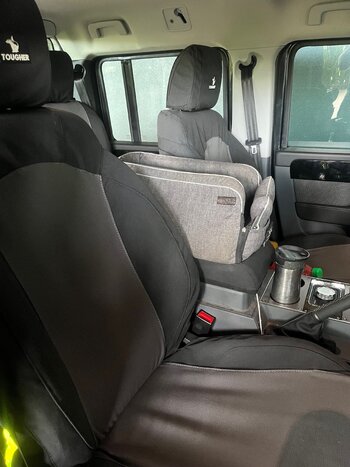
I took my 4 year old grandson for his first ride in a Grenadier. Wouldn’t you know it we saw another one while we driving. He said ha Granpa there’s your car.In anticipation of the imminent deliveries, what did you do with your Grenadier this weekend?
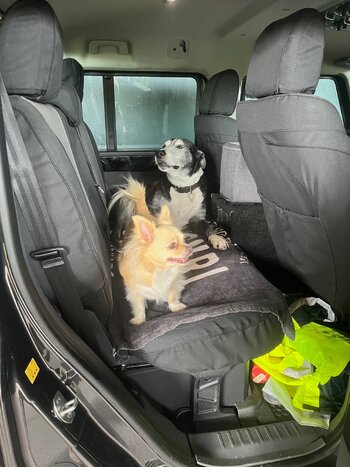
Tell the community and share the love, and pictures, lots of pictures.
This thread will remain locked until the first member tells me they have taken delivery.