
I love the idea of a bigger fuel tank, having come from a 120 series prado with 180 litres.
I did just watch a YouTube video of a group doing the canning stock route (where you need the big fuel capacity) . Their BD replacement/additional tank (under a troopy, the replacement tank was 180 litres by itself) began to leak then had a major crack, needed to be drained and was no longer usable.
Probably because of the size of it, and rough conditions, but I don't know. Food for thought if I was planning a trip like that. The plastic tanks on the side and roof have redundancy advantages.
Having said that, the track was also very overgrown. You could cop a stick through a tank on the side just as easily.
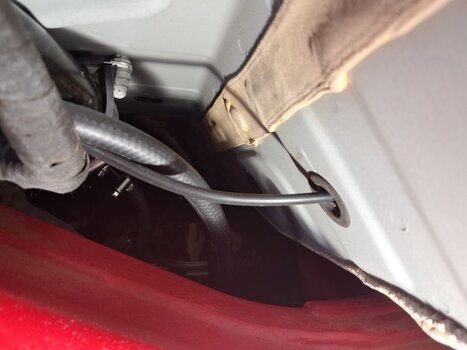
![AdBlue].jpg](https://ineosforum-data.community.forum/attachments/7834/7834458-2cc81562b969d158ed2af6d9b99184df.jpg?hash=LMgVYrlp0V)
 .
.")


