Yeah mine was left out. I didn’t want to argue about it so I paid another 60 bucks for DHL shipping which is the fastest. Hopefully I get all the hardware soon. I will say that everything looks very well built.
Register a free account today to become a member! Once signed in, you'll be able to contribute to the community by adding your own topics, posts, and connect with other members through your own private inbox! INEOS Agents, Dealers or Commercial vendors please contact admin@theineosforum.com for a commercial account.
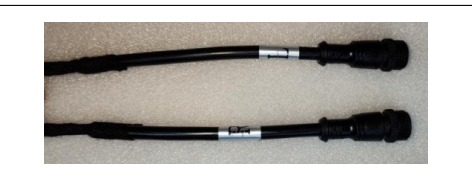
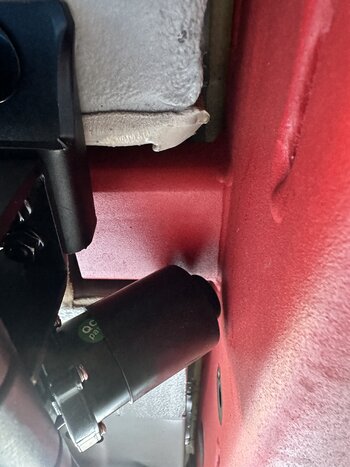
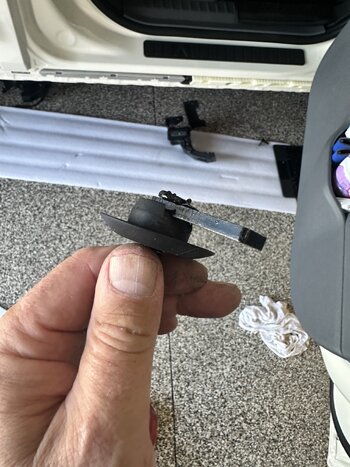
Did you buy direct from the manufacturer? Item does look very robust and well packaged. Only thing I'm not sure of is how the black/red wires are connected to the OBD port (or is it wires near the OBD port that the red/black need to connect?)Yeah mine was left out. I didn’t want to argue about it so I paid another 60 bucks for DHL shipping which is the fastest. Hopefully I get all the hardware soon. I will say that everything looks very well built.
View attachment IMG_0183.jpegDid you buy direct from the manufacturer? Item does look very robust and well packaged. Only thing I'm not sure of is how the black/red wires are connected to the OBD port (or is it wires near the OBD port that the red/black need to connect?)
Ah, you're a CHAMPION!!!
Yeah got it direct. Not bad I’ll have the hardware by tomorrow and hopefully do this on Friday.Did you buy direct from the manufacturer? Item does look very robust and well packaged. Only thing I'm not sure of is how the black/red wires are connected to the OBD port (or is it wires near the OBD port that the red/black need to connect?)
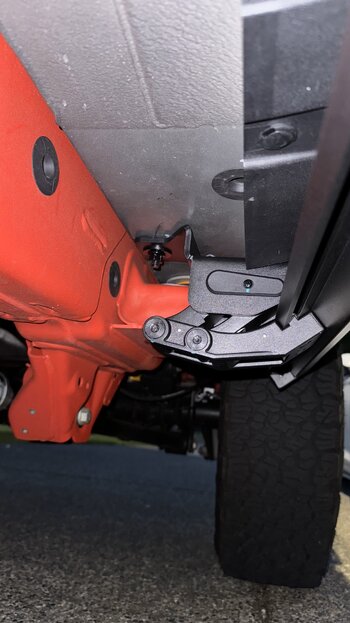
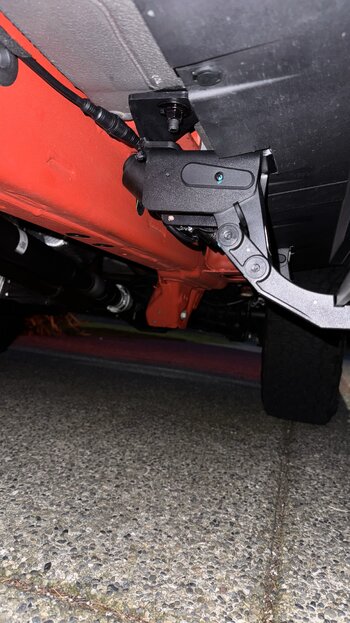
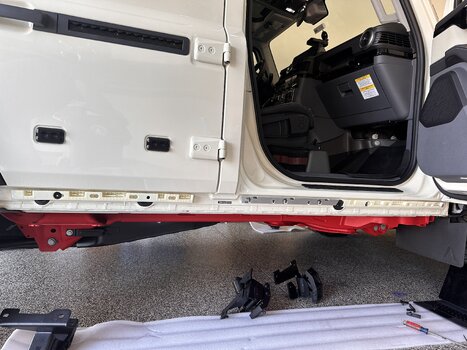
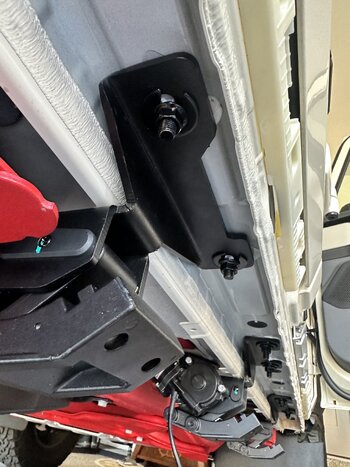
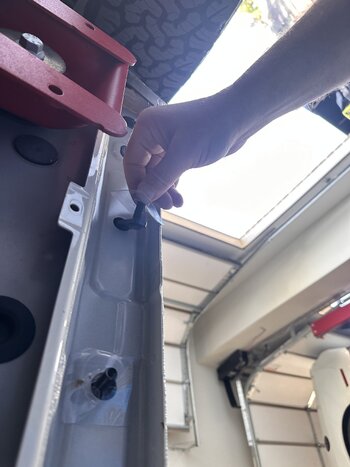
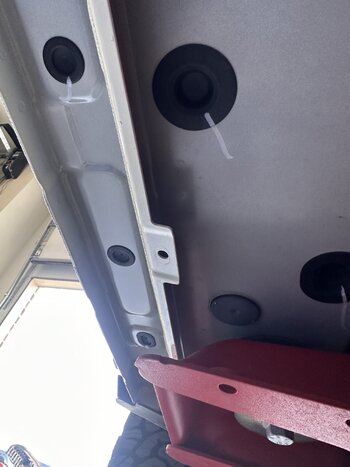
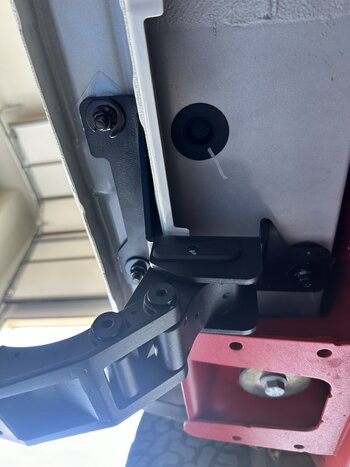
Now have a plug that connects directly to the white/green connector, no splicing wires required. Plug is located left side wall of vehicle above left foot of driver in LHD vehicle. Can see and remove without removing any plastics, just look up in footwell.View attachment 7848162
View attachment 7848163
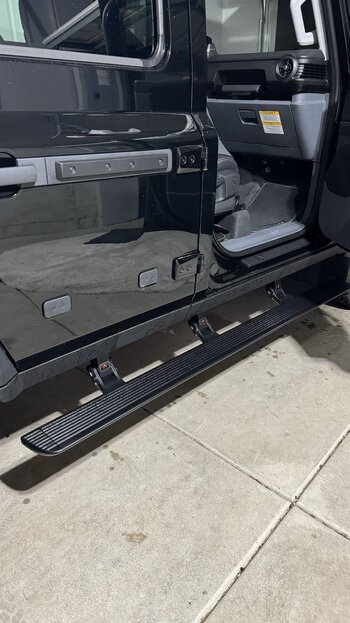
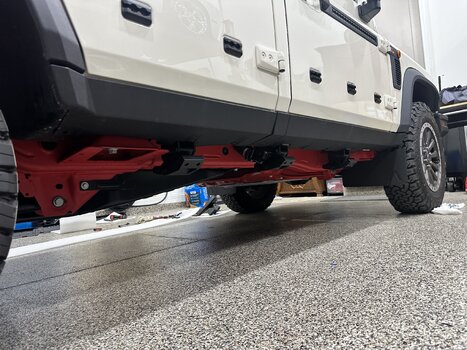
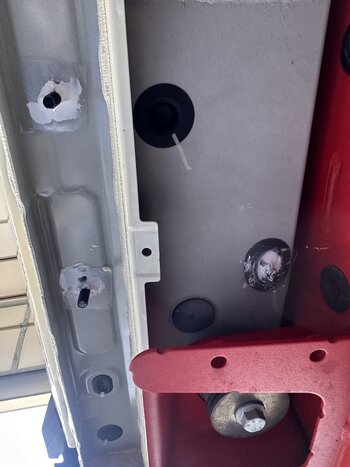
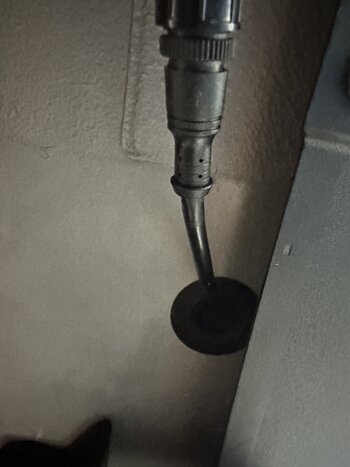
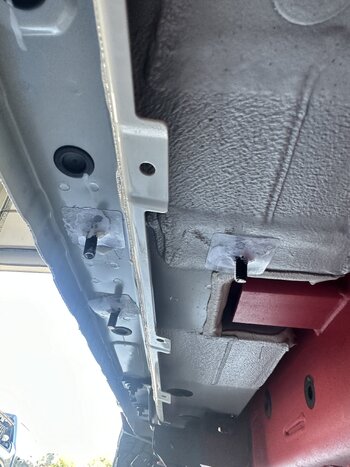
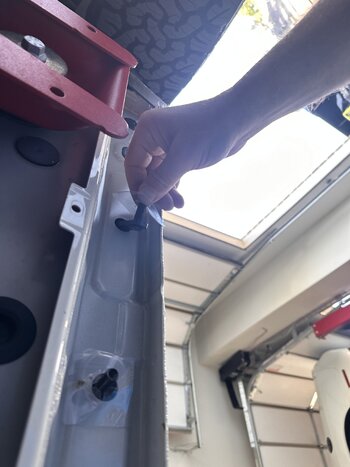
View attachment 7848164OK, got them installed. They work fine, step is lower and easier to climb in to seat now. Wiring harness threaded behind ODB port, well concealed. The motors are reasonably tucked under. This is not an easy install and the supplied instruction manual is very rudimentary, they need to improve that. Overall am please with how it turned out.
Same Here I reached out to Rockslide Engineering. I figured the more Grenadier owners that reach out showing that there is interest the more likely they may start working on them. These would be such a great option for Overlanding and getting the wife back in since I moved to 35"'s. Funny that my Grenadier on 35's makes my Jeep 392 on 37's look small.Rockslide replied and said not at this time
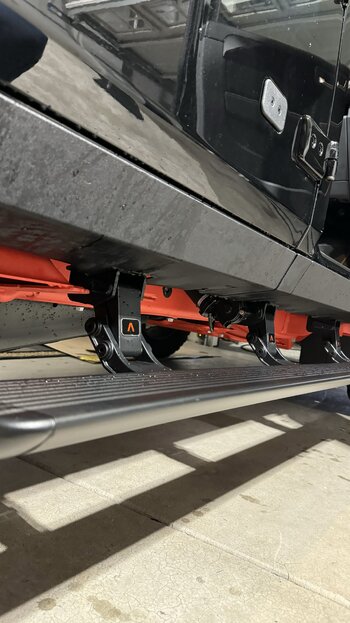
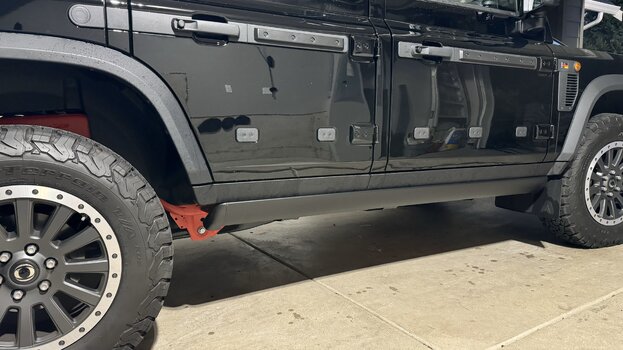
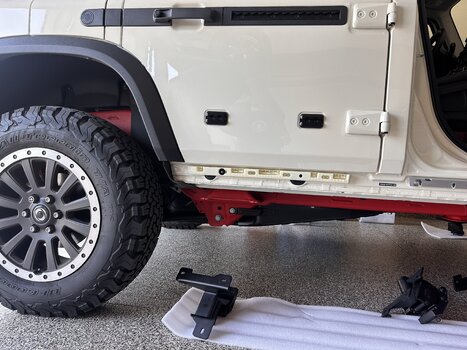
Got mine mounted. First step took a while because I didn’t know how many shims I needed. I’d like to believe that all the trucks are the same. So for the next person installing, after back and forth I used one shim for each of the bolts on the fronts of the brackets. Backs don’t need any.
From Ali express. I can send a link if you’re interested. The same seller is on Amazon as well but they go for 1,350 on Amazon. I paid a little under 1,200 for these after shipping.
Here you goThanks / the link would be much appreciated!

 a.aliexpress.com
I recently installed the steps from Summer Auto Parts. Their delivery was fast, taking less than a week, and their communication was consistently prompt and responsive. Although the instructions provided were not very comprehensive, requiring some problem-solving on my part, the final outcome was great. The side steps look and perform great, meeting my expectations for good quality and subtle appearance while being ready for use when needed. Initially, I was concerned about their stability since they attach to the body rather than the frame, but after testing, there were no issues at all.
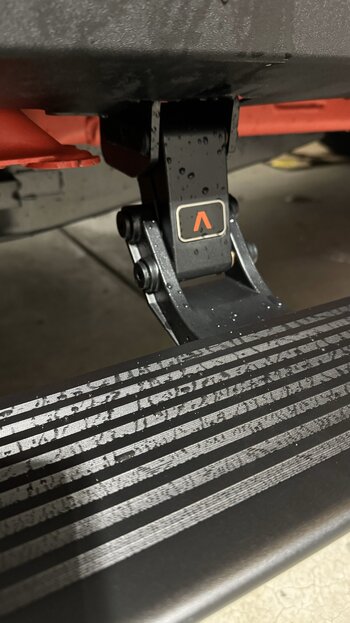
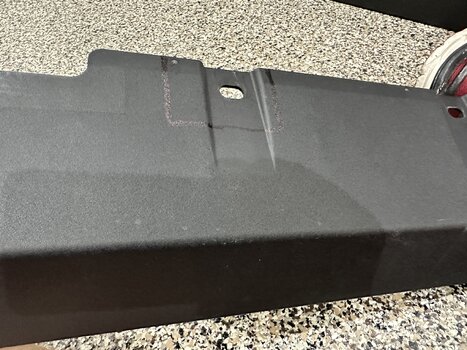
In addition to the shared info in this thread for these steps, I added sealant between the plaque and body where hardware connects, as I had to remove some original water seals. Next, cut the plastic trim for the mechanism to fold; I found 7 inches worked well. Lastly, plan wire placement inside the cabin; I routed mine under the door frame channel where other wires run. For grounding, use the spot behind the driver's side footrest.
Everyone has different preferences for side steps or rock sliders. These fit what I was looking for, and it's great to see the variety increasing so there’s something for everyone.
Let me know if you have any question during the process, happy to help, it took me a Saturday to install -doing it carefully and taking the time.Well done! I’m expecting mine next week and will use your tips thanks!
Got the steps installed, added a handle bar on the driver side and also an upgrade with the Fox steering stabiliser. Improved handling greatly.Thanks for uploading to the resources area. Much better quality than the one with the package.

Which fox stabilizer did you get the adjustable one or fixed?Got the steps installed, added a handle bar on the driver side and also an upgrade with the Fox steering stabiliser. Improved handling greatly.