The Grenadier Forum

Register a free account today to become a member! Once signed in, you'll be able to contribute to the community by adding your own topics, posts, and connect with other members through your own private inbox! INEOS Agents, Dealers or Commercial vendors please contact admin@theineosforum.com for a commercial account.

What did you do with your Grenadier today?

Damn your right. Thanks Jeremy, you are correct they are the side runners and not the rock sliders. I dont really need the rock sliders for my use of the rig, but I think I will dig a bit deeper in the Forum and look for some replacements that are more user friendly than these that are recomended by Forum contributors.
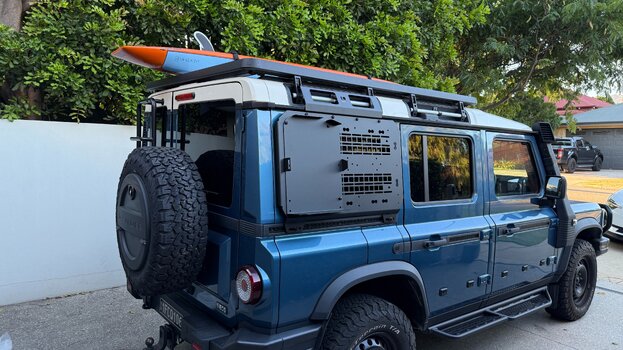
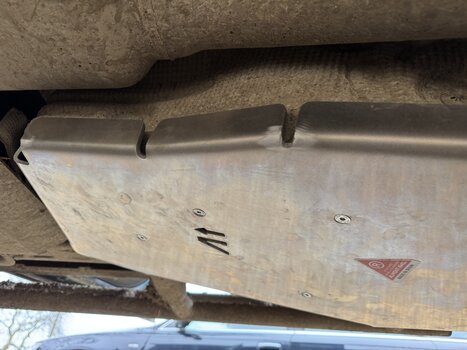
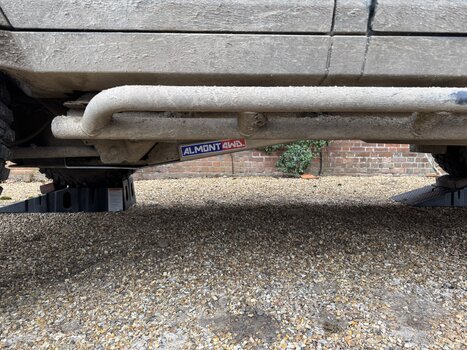
reach out to Ryan @ Buzz Overland. I have the custom step/sliders and it was the best accessory purchase I've made so far.
 
Went to Moab this past weekend and San Rafael Swell, had an amazing time, took some friends to Chicken Corner's - I will be leading that trail in May for the Grenadier Event, I would love to have some of you along for that run, its such a beautiful area.


IMG_7929 2-SM.jpg
IMG_7943-SM.jpg
IMG_8026-SM.jpg
IMG_8027-SM.jpg
IMG_8031-SM.jpg
IMG_8057-SM.jpg
IMG_7943-SM.jpg
IMG_8026-SM.jpg
IMG_8097 2-SM.jpg
 
Doing what I can to prevent problems; the cracked windscreen thread threw up this idea ; every bit helps and it seems quite a few chips happen at the lower edge.
Cut the red backing tape in the middle, peel off and apply the LHS first, then move to the other side and repeat.
Or the opposite if you're left handed!
Trim piece

20250213_144953.jpg
 
Doing what I can to prevent problems; the cracked windscreen thread threw up this idea ; every bit helps and it seems quite a few chips happen at the lower edge.
Cut the red backing tape in the middle, peel off and apply the LHS first, then move to the other side and repeat.
Or the opposite if you're left handed!
Trim piece
Mine is sitting on the counter waiting for me to replace my windshield….just waiting for the crack to grow or interfere with my vision
 
Doing what I can to prevent problems; the cracked windscreen thread threw up this idea ; every bit helps and it seems quite a few chips happen at the lower edge.
Cut the red backing tape in the middle, peel off and apply the LHS first, then move to the other side and repeat.
Or the opposite if you're left handed!
Trim piece

View attachment 7887161
I like the old school look to it too
 
  • Like
Reactions: Max
Installed a few things over the past week:

Leitner Molle side window panels to go with the 3/4 Leitner Roof Rack
Tougher seat covers and dash cover
Racing Optics windshield protection
White Knuckle Off Road rock sliders

Still cant figure out the "smoker's package" cigarette lighter issue not allowing for any 12volt accessory but have a work around using the rear 12v outlet and ran a 12' cable to the front temporarily

Other than that....making a 2200 mile trip to Maine here in a few days and then returning. Probably a 5500 mile round trip back to Colorado.
 
It's Christmas... and Santa (Dave from Design Build Go) has been arranging some deliveries. The first of 3, the other two seem to be stuck in customs. So a few more bits to add to the parts Im accumulating Ive got the Eibach eurospec springs and bashbplates on the pallet.

Today I got some Leitner side kicks and jerry can holders. Baja lights, and some other parts.

I took some parts home and I installed one of the side kicks. I should have read the instructions for the jerry can holder first, which say to install them before you install the sidekick on the car... So that is just sitting there.

I couldn't resist installing the Agile offroad grab rail as it is very nicely machined. I did order two. I only installed the passenger side as I will need to remove and cut the drivers side. I figured I'd wait as I have the stereo upgrade kit coming and will need to mount tweeters in the pillar.

I was given some left over dynamat so I installed that in the rear too.

IMG_3605.JPG
IMG_3607.JPG


IMG_3617.JPG
IMG_3619.JPG
IMG_3618.JPG
IMG_3624.JPG
IMG_3623.JPG
IMG_3622.JPG
 

Attachments

  • IMG_3617.JPG
    IMG_3617.JPG
    6.5 MB · Views: 93
Its a really nice cover. those chromed pieces of protection looks perfect and ties in with the overhead switch panel in a super nice way.
Quality is top notch.

A bit more work to get the cup holders out of their clips than i thought it would be. Worthwhile to invest in a plastic trim remover tool for this job.
 
Fly fishing today after several inches of snow last night and this morning. Just made sure to lock it in 4L before driving off the road to park in the snow. Crawled out afterwards - no problems. Handles really well in the snow - especially w snow tires on. I did have recovery boards, a shovel and snow socks - just in case ;o)

IMG_6218.jpeg
 
Finally got the last skid plate on. The last from Almont.

Fuel tank protection. Have to remove the OEM one and then attach the Almont one before refitting to truck.

Happy with them.
 

Attachments

  • IMG_3094.jpeg
    IMG_3094.jpeg
    6.7 MB · Views: 100
  • IMG_3093.jpeg
    IMG_3093.jpeg
    6.2 MB · Views: 95
  • IMG_3102.jpeg
    IMG_3102.jpeg
    9.8 MB · Views: 99
Finally got the last skid plate on. The last from Almont.

Fuel tank protection. Have to remove the OEM one and then attach the Almont one before refitting to truck.

Happy with them.
It looks very stable. I like that a lot.
 
Back
Top Bottom