Register a free account today to become a member! Once signed in, you'll be able to contribute to the community by adding your own topics, posts, and connect with other members through your own private inbox! INEOS Agents, Dealers or Commercial vendors please contact admin@theineosforum.com for a commercial account.
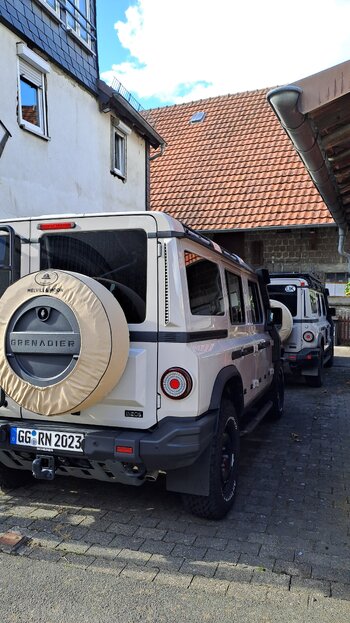
very cool.Last weekend we met up with logsplitter, his wife and Liberty . It was so much fun.
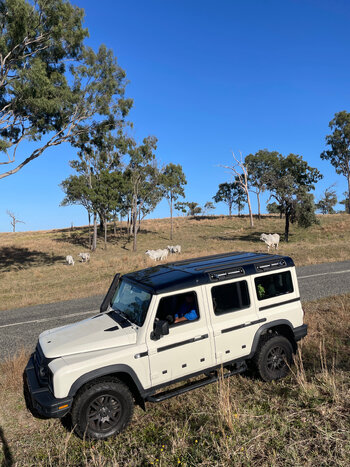
View attachment 7872496
Are these extras for winter/summer tyre rotation or an upgrade to the original one?
")
Extra for a set of mudAre these extras for winter/summer tyre rotation or an upgrade to the original one?
Cheers
Did you measure the ride height difference (lift) from the stock to the new front springs?I installed heavier compression rate front springs for the front axle. The same as comes with the Grenadier for the vehicles with a winch. I'm preparing for the GP factor hidden winch install at the end of October.
No pics, but you know it's just a spring...
Surprisingly reasonably priced as an Ineos part from the dealer, Warner Ineos in salt lake City. I have nothing but great experiences from those guys and Todd the service manager is great.
What was the cost of the front springs? I've been considering the same "upgrade"Surprisingly reasonably priced as an Ineos part from the dealer, Warner Ineos in salt lake City. I have nothing but great experiences from those guys and Todd the service manager is great.
Part number for the springs?I paid $400 + labor. I didn't remember the labor but can look it up if you want me to