
- Local time
- 4:55 PM
- Joined
- May 19, 2022
- Messages
- 2,223
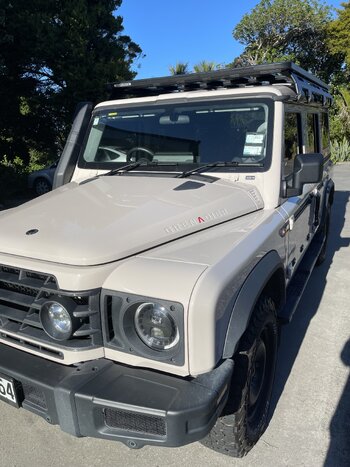
I didn't do anything outstanding either. I drove with my Grenadier and bought a few care products. I wanted to be back quickly. But a few people approached me and wanted to know a few things about the Grenadier.
At the moment I'm in my workshop preparing my Series 2a for sale. It really hurts to part with a very special vehicle with an outstanding history after such a long time. But decisions have to be made.
At the moment I'm in my workshop preparing my Series 2a for sale. It really hurts to part with a very special vehicle with an outstanding history after such a long time. But decisions have to be made.


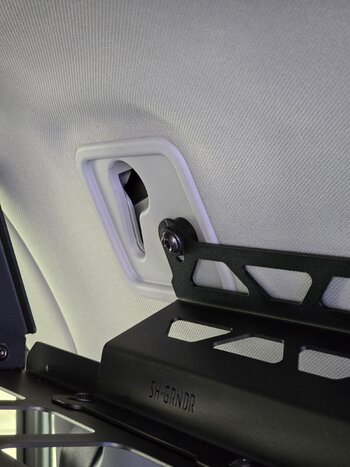
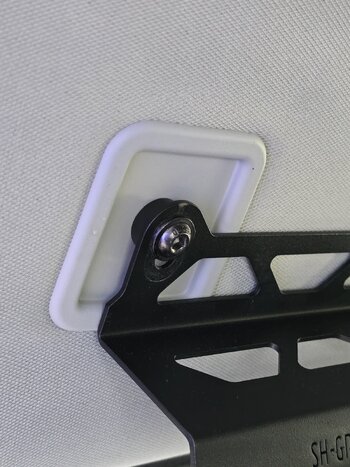
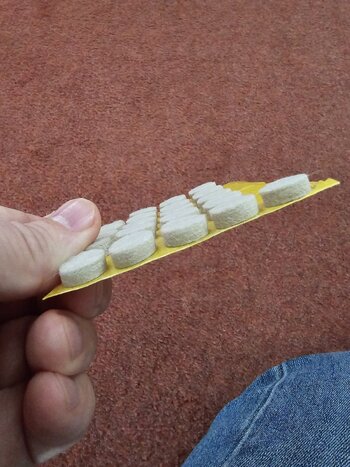


 (not the best finish but that suff is sooo sticky
 )
)

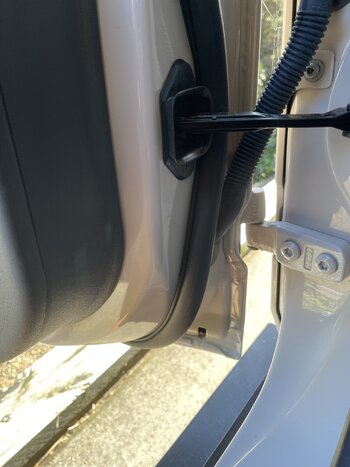
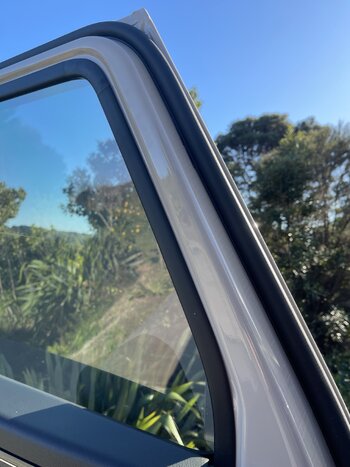
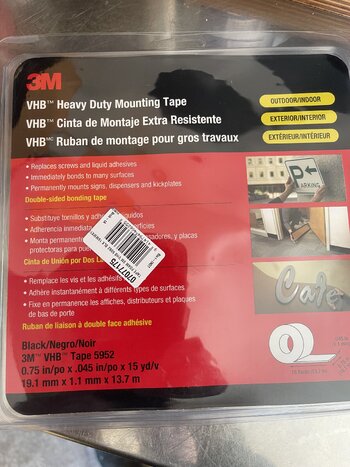
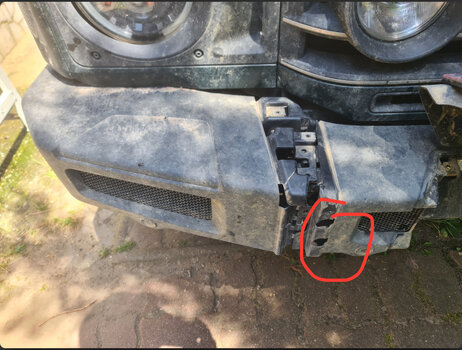
 bottle in your remedial works photos.

