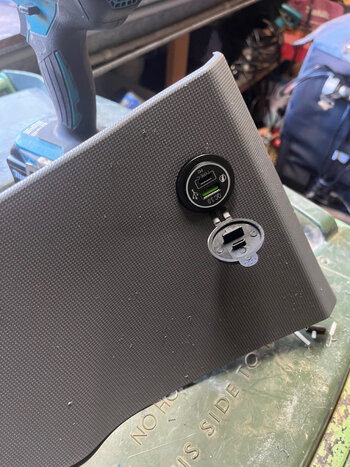
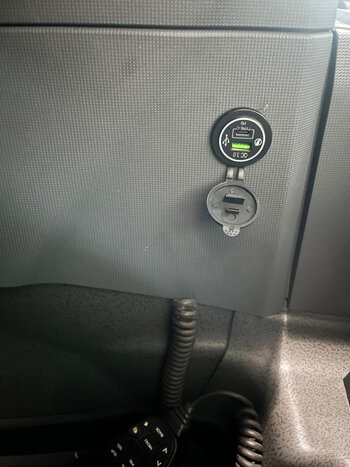
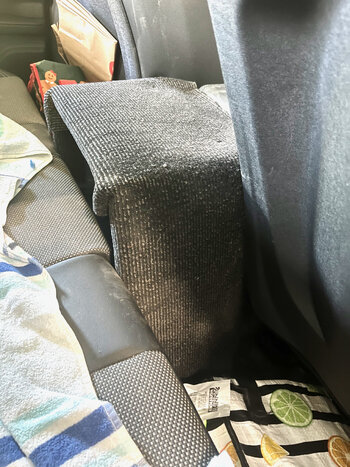
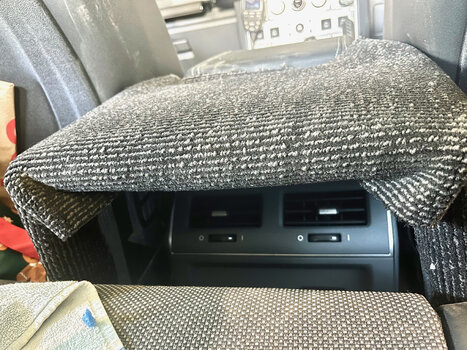
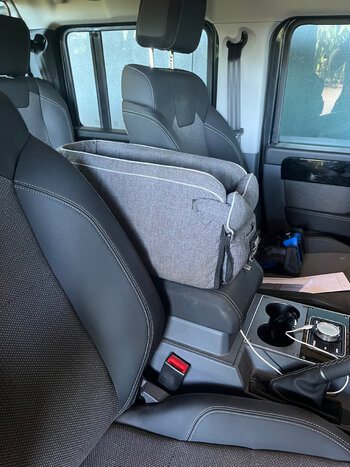
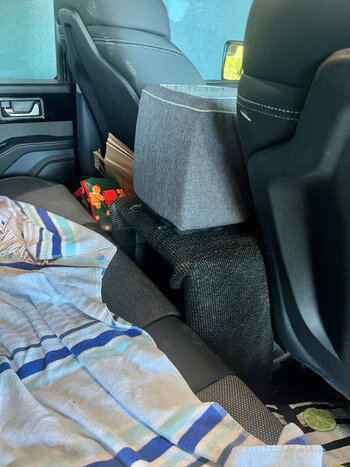
A few more projects done today. First up, going camping with the Mrs, and dogs. Cyndi the long haired chihuahua does not like spending time in the back seat with the very excitable English Staffy-Bobby, as he does not know how much he weighs, and where his feet are at any given time. She wants instead to sit in one of our laps whilst driving. Not ideal for all involved. So made a extension shelf for the centre console to accommodate her travel bed, which she can be clipped into, and allows her to see out the windows along with being between us. Carpet is temporarily attached, and if successful a more permanent attachment of the carpet to the frame will be undertaken. the timber frame is wrapped in either closed celled foam or carpet to prevent scratching of the seats or plastics.
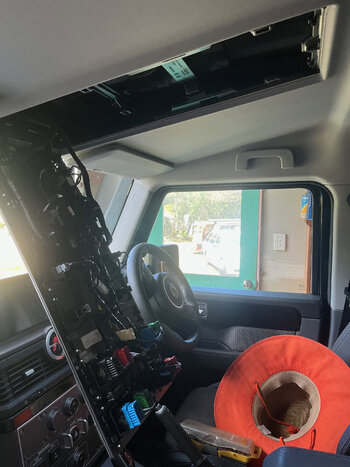
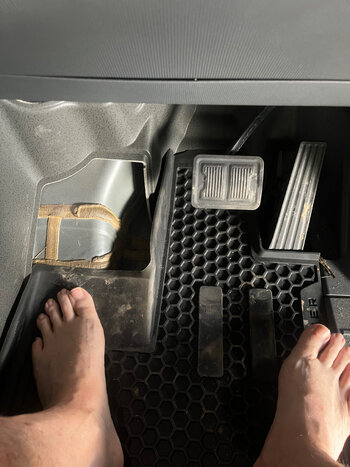
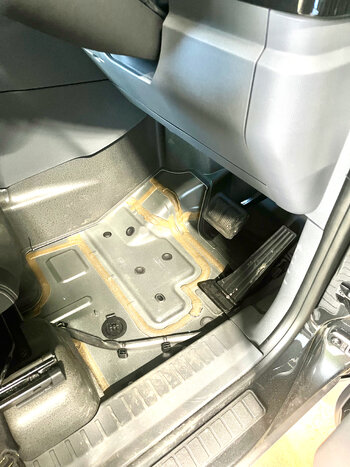
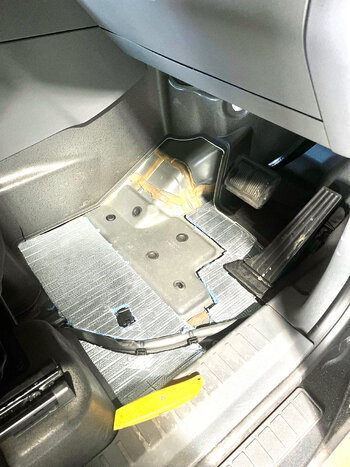
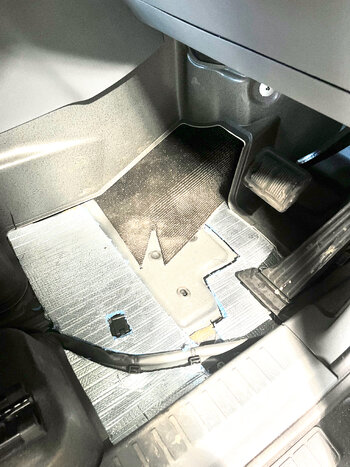
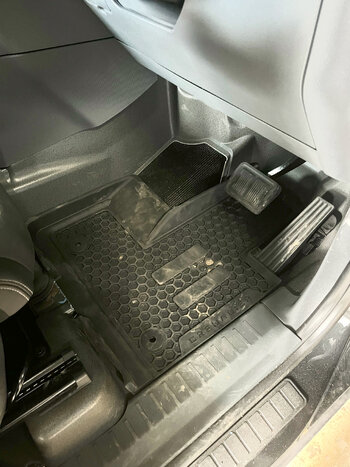
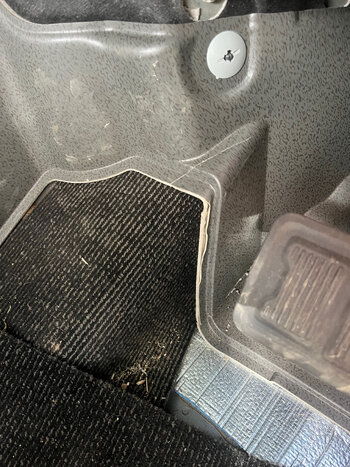
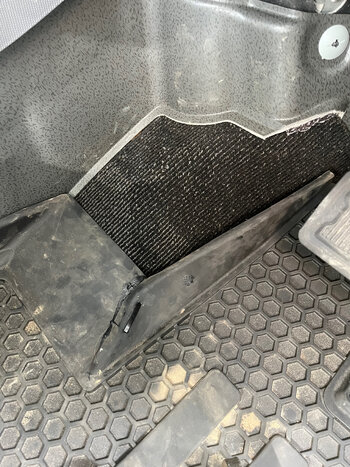
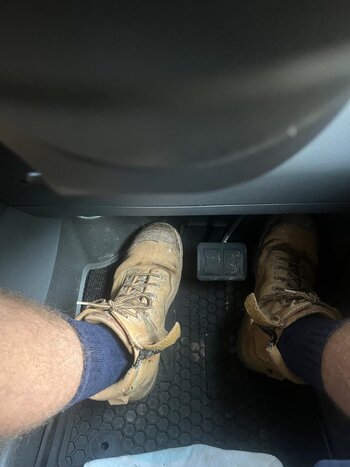
With my sciatic pain persisting, I have a temporary solution to the footrest intrusion in the RHD footwell. I earlier removed the floor covering, and attached foam backing. I then filled the low spots of the flooring with closed cell foam sheeting. It is just sitting in place, not glued yet. I then used an offcut of the carpet I purchased for the dog bed shelf, and placed it over the metal intrusion into the footwell. This is tucked under the plastic panels to hold it in place. The rubber floor mat is then placed on top of the area. I did cut the corner of the bit that originally moulded around the hump. I basically lays flat, and I can't feel it under foot whilst driving. Much more space for feet to move around. Feet and knees are level, and no extra heat that I can detect yet. I have been driving around without the plastic flooring for about a week so far. This just tidies up the space.

