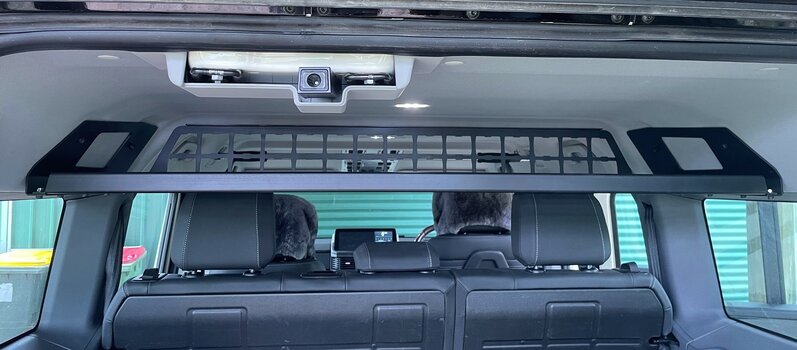
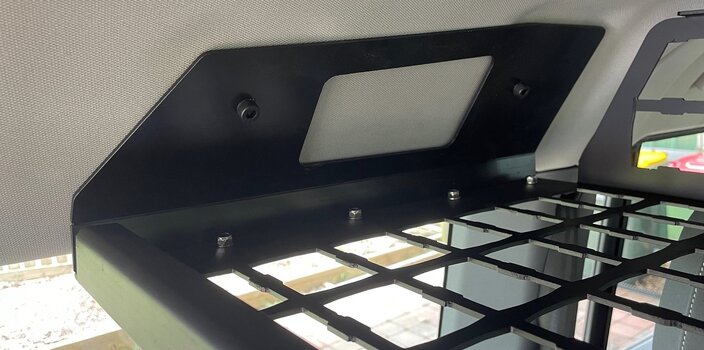
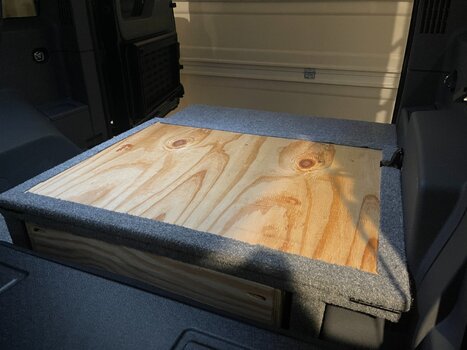
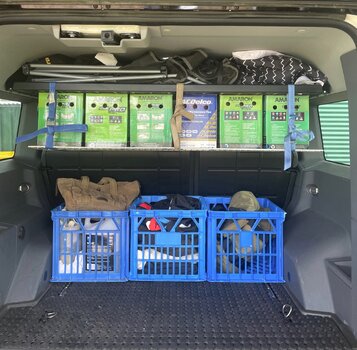
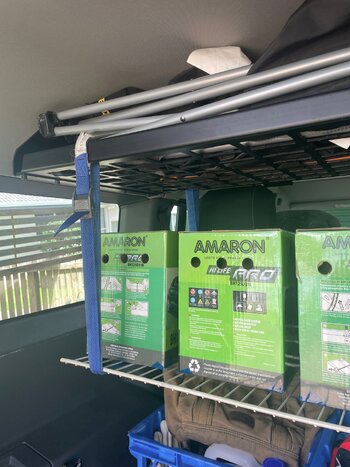
A simple mod for short and long term cargo storage, which is how I work my travel trips, trip by trip, add or subtract...I am setting off to a poultry show on Friday and will staying at Inglewood Queensland for two nights with wife and friends, so a bit of gear and six birds. It is a simply install having had the shelf from a storage system to use for this purpose.
The repurposed battery boxes with the right amount of ventilation will carry one bird each [Old English Game]. They are supported by the shelf and fixed in postion by shortening the straps and pulling up to the shelf above to make the cargo stable...what I'm liking is this can be used for multiple reasons which suits your trip by trip packing...the straps go from the back of the top self under the bottom self to the front of the top self.
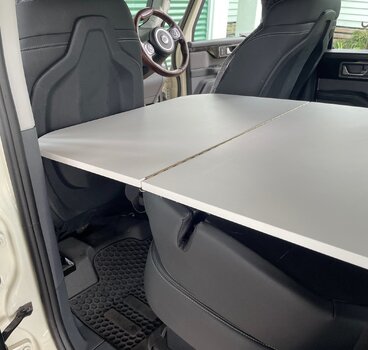
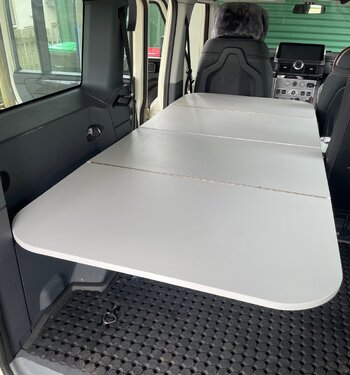
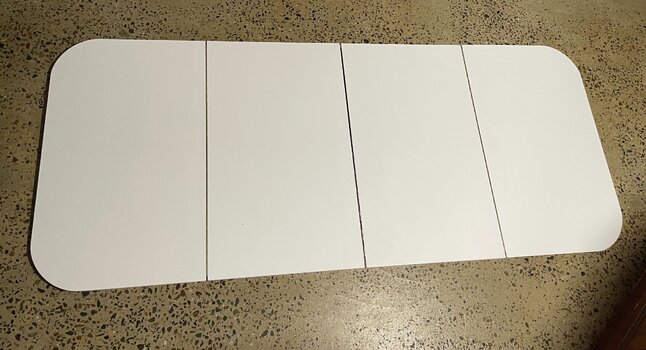
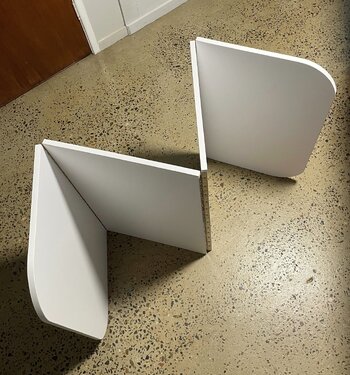
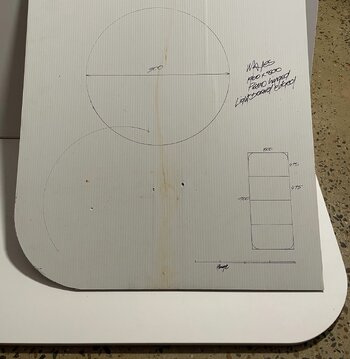
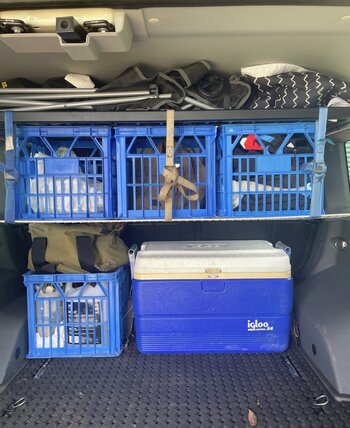
I have used the old crates for years being light, strong and stackable, couldn't believe how they fitted the Gren and when the back seat is laid down the crate height is the same, so now I am working on a simple foldout board for sleeping and simple removal. A different crate for all circumstances, cooking gear and then the beer crate and so on.
")


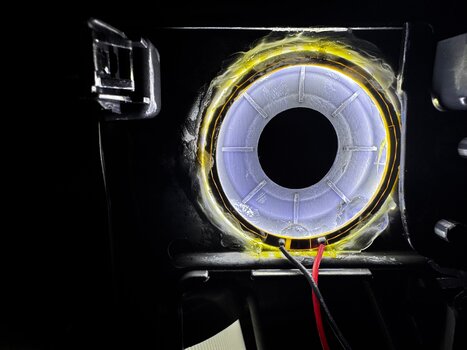
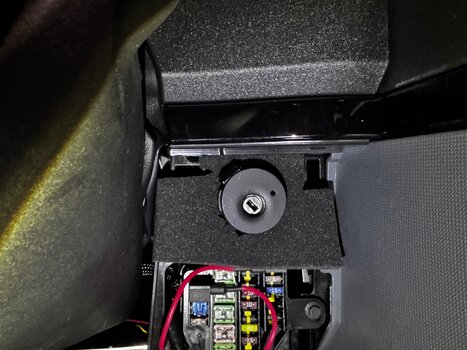
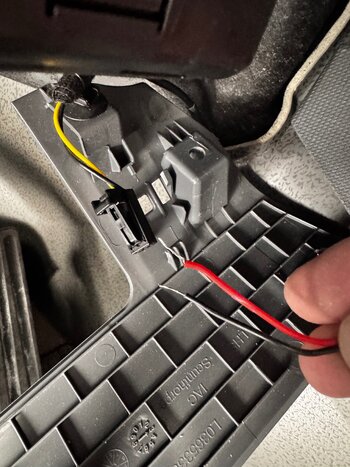
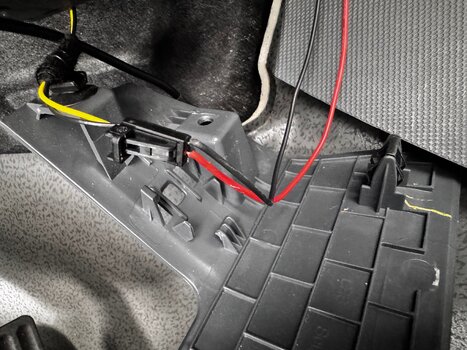
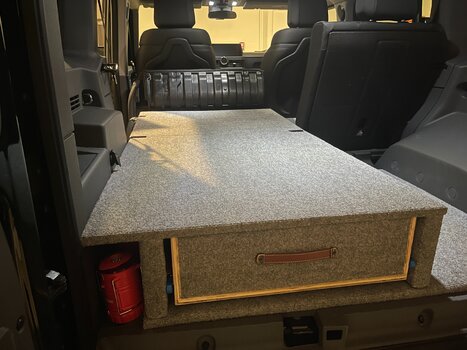
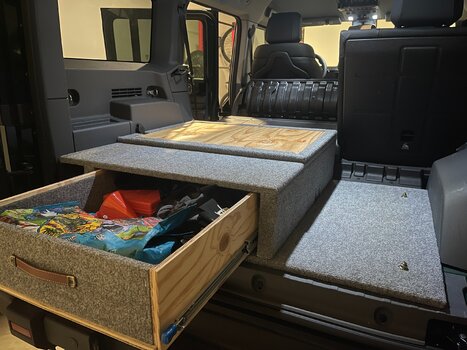
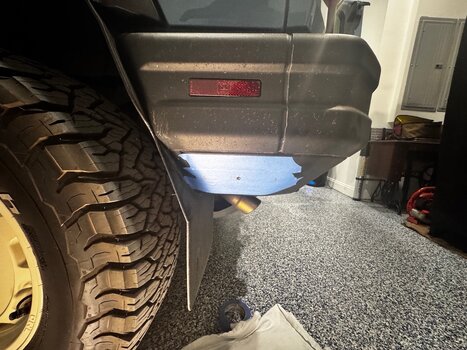
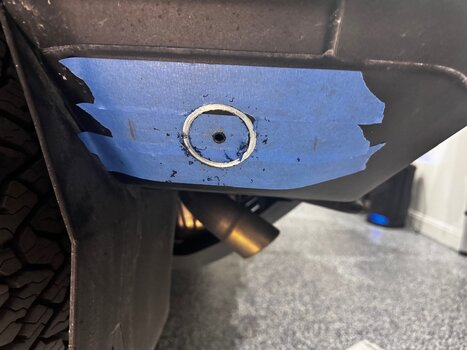
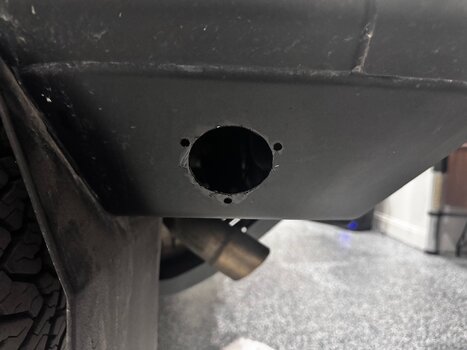
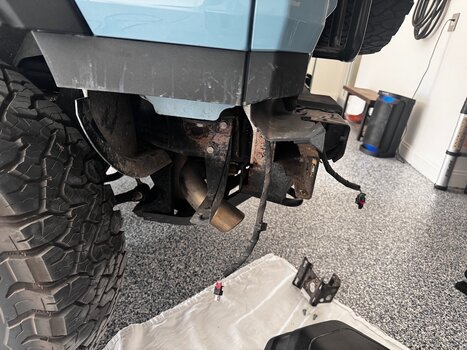
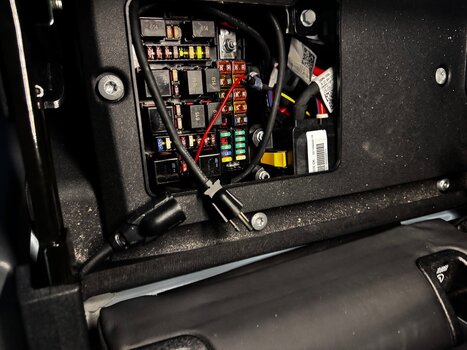
 ) and was much cheaper than the aftermarket solutions out there.
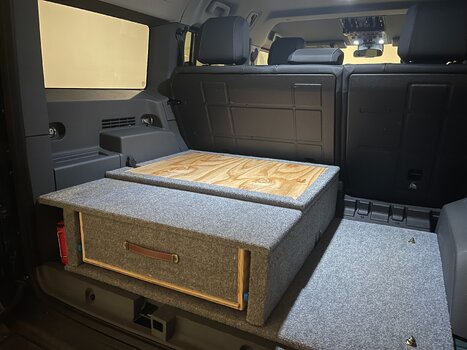


") should have a great weekend now that TC Alfred has buggered off. Good luck in the comp.
should have a great weekend now that TC Alfred has buggered off. Good luck in the comp.