I’ve made a separate post under introductions I think but this seems the better location for people to look for mod ideas so here is my list with a few more updated items.
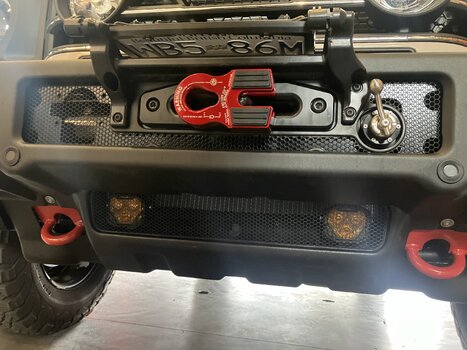
1) Installed morimoto hxb wide beam fogs behind the mesh, threaded into the horizontal reinforcement of the skid plate); attached to the 10a under hood/EXT1 switch.
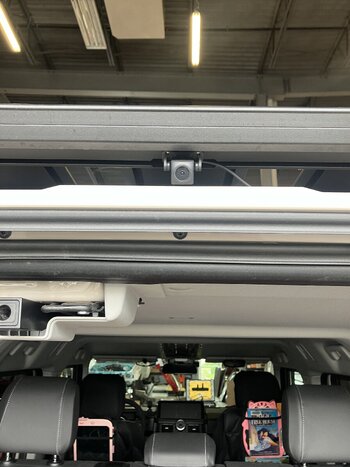
2) Wolfbox 900 camera, I tapped the cockpit fuse box below the ignition for a constant and ignition switched source, and tucked the wiring and box into the left fascia panel below the wheel beside the door.
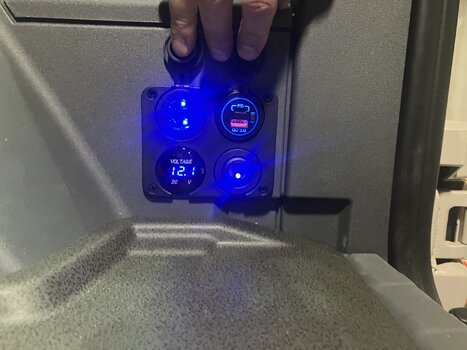
3) Used rear winch + to supply a 6 fuse box at the rear for an additional USB x2, voltmeter and 12v socket. It also supplies an LED mounted on the plastic fascia of the door catches on the roof of the boot, and another white/red LED on the large door over the table (I haven’t built yet).
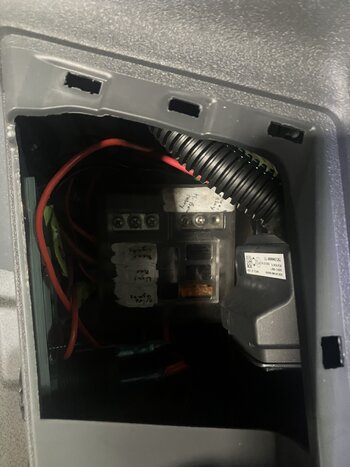
4) under the rear seat mounted a renogy 500a shunt, and installed a ctek d250se to handle the future hood mounted solar panel by Cascadia 4x4 (Canadian company in BC, they’re working on a hood panel for 100w +/- side panels for an additional 20w each. First run expected in 6 or so months)
5) sprayed recovery hooks safety red
6) covered skid plates with Herculiner
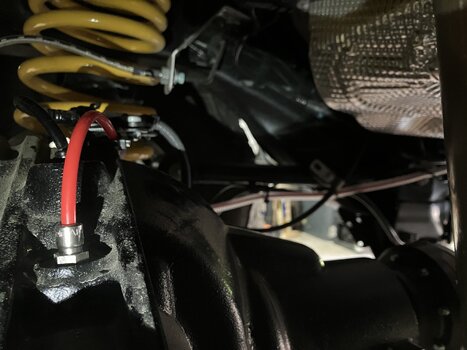
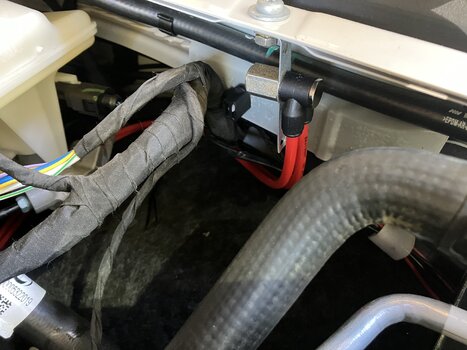
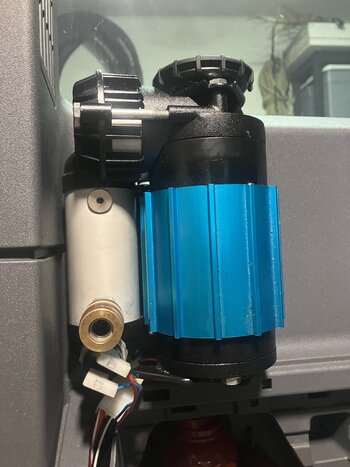
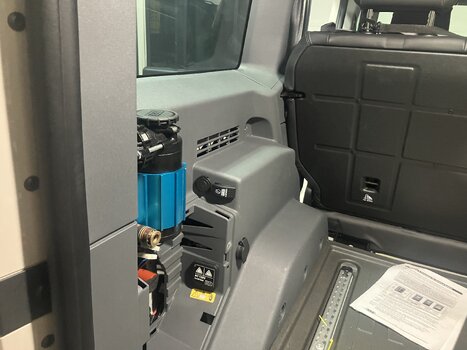
7) installed ARB compressor on left above the bottle jack. Powered by littelfuse box under rear seat, with an accessory power source to the relay from a fuse tap from the box by the primary battery. Built an aluminum spacer to bolt to M8 threads, and mount the ARB plate to the spacer. Added a little arm to catch the slot beside it to avoid any twisting.
8) cut out a 3/8” thick rubber floor for the rear
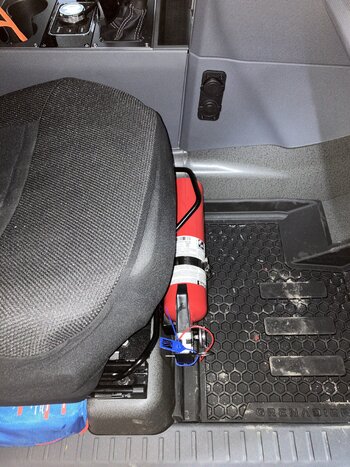
9) fire extinguisher bracket with stainless hardware to the bolts under the front passenger seat
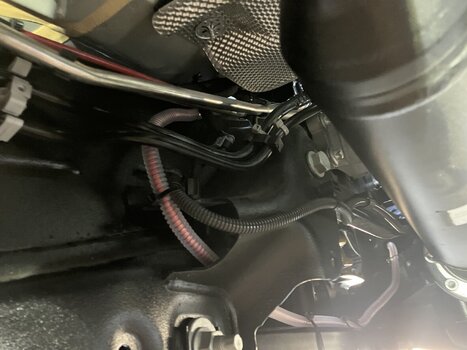
10) differential breathers to a sintered filter under the hood
11) factor55 splicer shackle
12) nokian outpost 285/70r17 on black rhino stadium offset 38
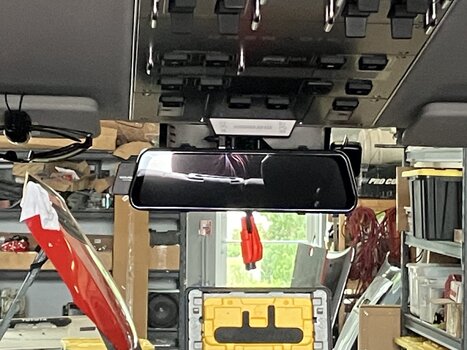
13) routine tidbits: hatchet and tools under front seat, first aid stuff under passenger seat, glass breaker/belt cutter on rear view mirror, seat cover and kids seats, magnetic phone mount, all the charging cords and paraphernalia.
The pictures should have enough clues to sort things out but happy to discuss any how’s or whys