Greetings all
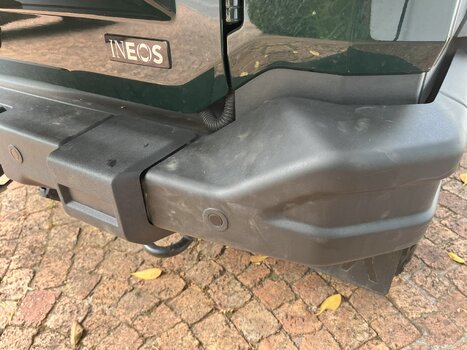
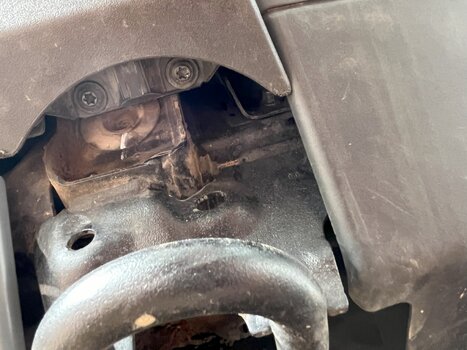
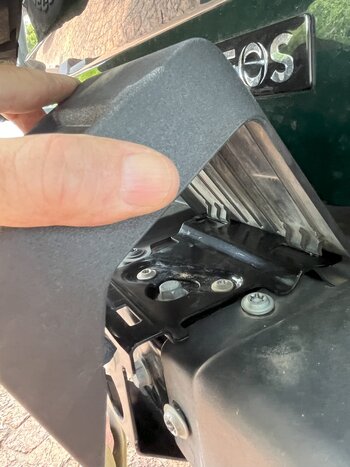
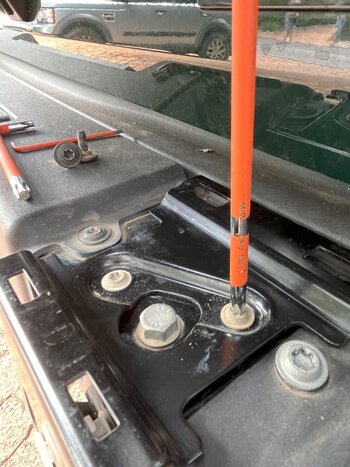
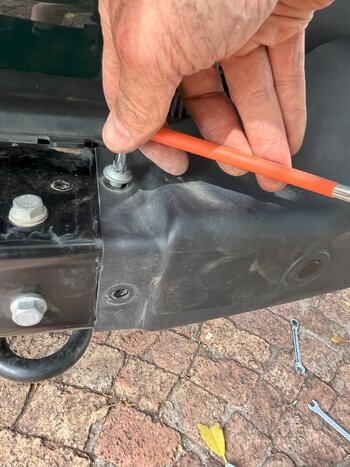
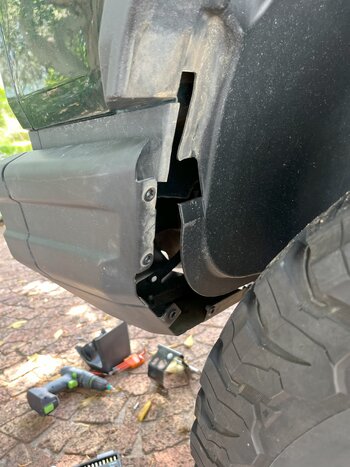
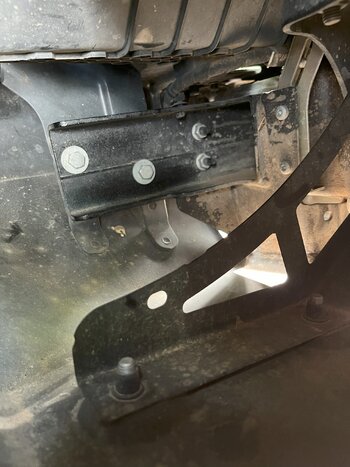
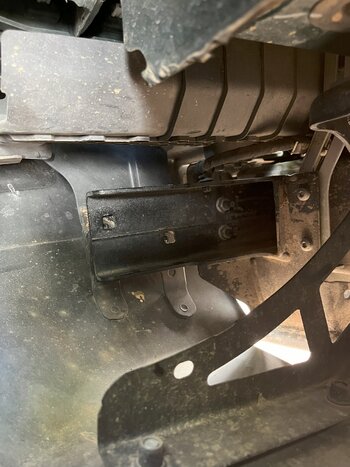
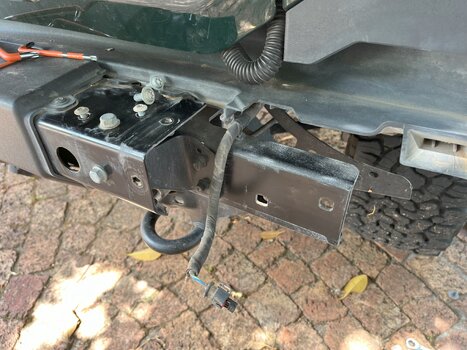
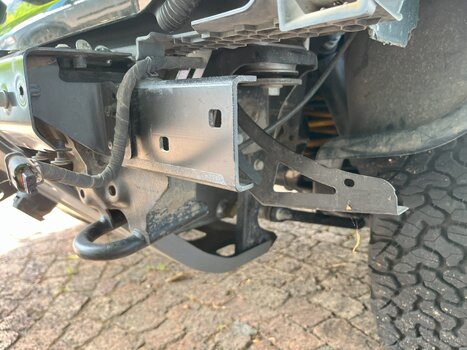
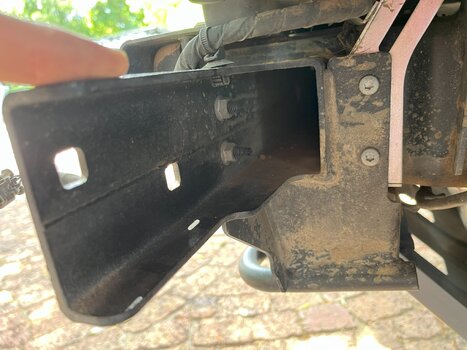
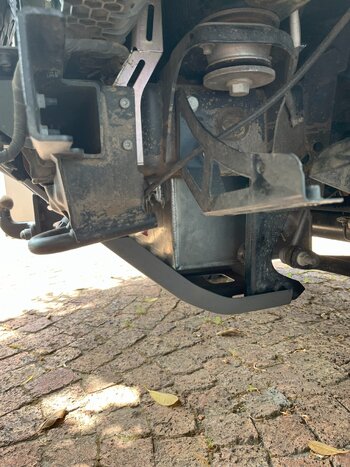
Has anyone taken off the rear bumper. Are there diagrams of what it all looks like and procedure to take off and install? Is it one piece or 3 piece?
Specifically, need to remote rear left side bumper. If there are pictures, can someone point me to it?
Thank you
Has anyone taken off the rear bumper. Are there diagrams of what it all looks like and procedure to take off and install? Is it one piece or 3 piece?
Specifically, need to remote rear left side bumper. If there are pictures, can someone point me to it?
Thank you