My first career included operating and repairing Unimogs and I can honestly say I used the 2-pin NATO socket zero times so it's unsurprising to me that no one is talking about it over in Mog-land.
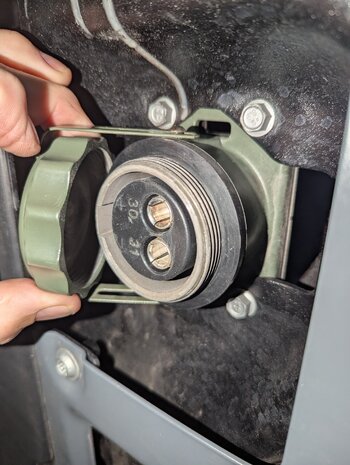
The socket on the Grenadier is made by Maehler and Kaege. Their name is cast into the cap. M&K are one of two German companies (with Elke Technik) that produce high current charging connectors against Defence Standard
VG-96917. It's a standard catalogue part available on an NSN. Of course it could be a bogus knock-off copy from Temu but I doubt it.
VG-96917 calls for IPX4 water resistance and corrosion and salt spray resistance. Something is not quite working there but these parts are covered by the vehicle warranty so if they become defective talk to your dealer or agent.
Anyone who wants to address this at the material level should look for a paint-on corrosion conversion product like ACF-50 or M-CR 1201 Alodine. Aviation, marine or motorcycle shops will have something suitable. An aluminium cleaner or polish will not help. You need a corrosion conversion product. The mechanical action of removing and installing the cap is going to wear away at a protective coating so it's a process that would need to be repeated periodically.
A preventative maintenance action is to clean the cap and body with some hot soapy water and a small brush (buy her a new toothbrush afterwards

) Scrub, rinse and dry the parts thoroughly then apply a water repelling product like lanolin or petroleum jelly on the threads, not the cap gasket. If you have a silicon equivalent then go at it.

")


")


