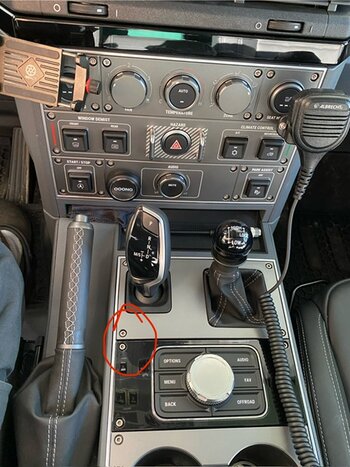
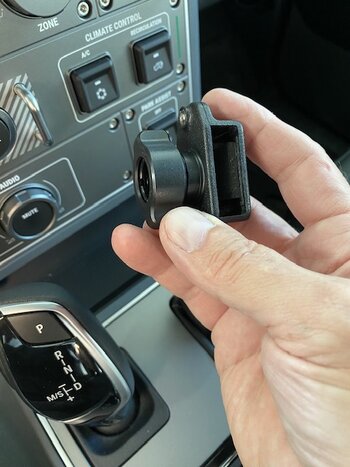
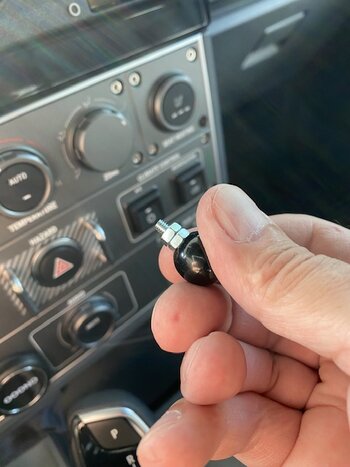
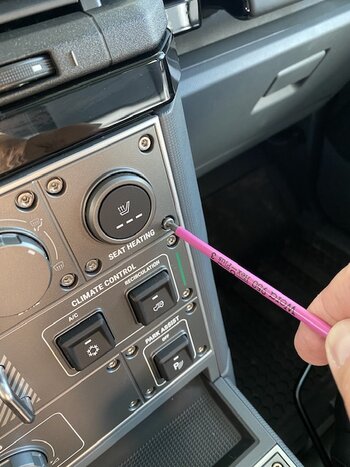
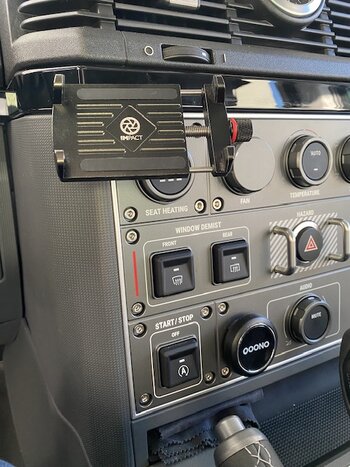
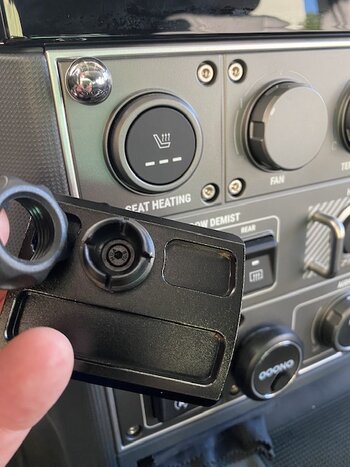
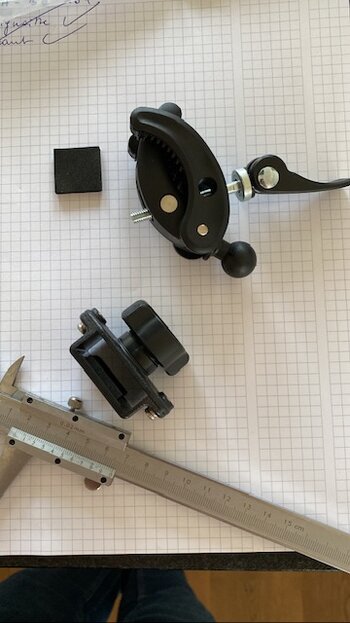
@Jean Mercier: it´s quite easy. You get the screws out of the cover. Then i´ve used some kind of plastic-tolls (see the pic below) to remove the cover. You see the brassy clips in the first picture. That´s the point where to get the cover out, it stuck right firm in the clips. When the cover is out you´ll see two screws (unfortunately not pictured) in the trunk direction. Get them out and you can unfold the hole board.
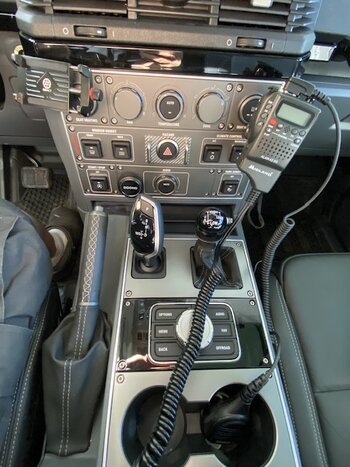
I love thoughtful engineering: the board has hinges in front to the windscreen --> very nice.
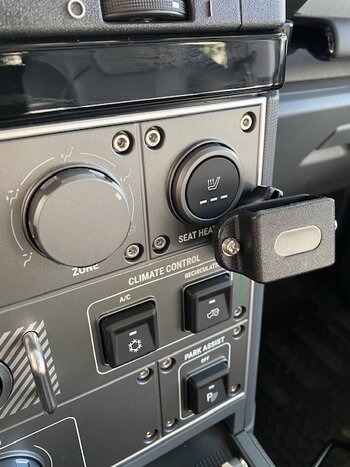
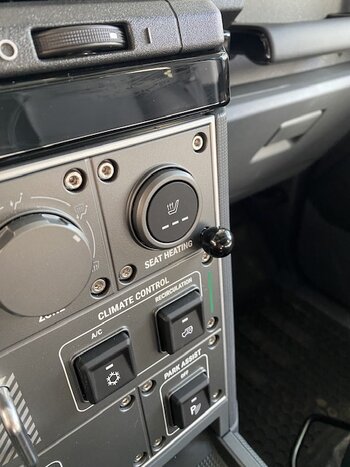
The change of the switches shouldn´t be a problem.
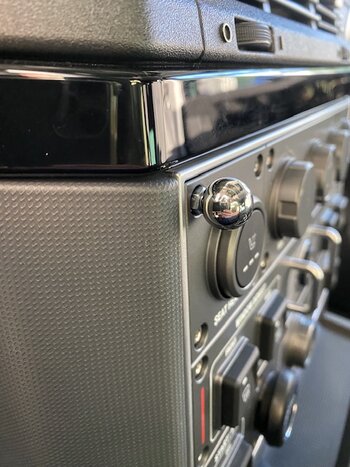
Same technic is used in the center where the cupholder is.
View attachment 7817621