did you put some felt or something on the backside of that lumber?Finally, made use of the rear quarter L-track.
View attachment 7871331
The Grenadier Forum
Register a free account today to become a member! Once signed in, you'll be able to contribute to the community by adding your own topics, posts, and connect with other members through your own private inbox! INEOS Agents, Dealers or Commercial vendors please contact admin@theineosforum.com for a commercial account.
You are using an out of date browser. It may not display this or other websites correctly.
You should upgrade or use an alternative browser.
You should upgrade or use an alternative browser.
What did you do with your Grenadier today?
- Thread starter Stu_Barnes
- Start date
-
- Tags
- grenadier
Used liquid electrical tape, many layers.did you put some felt or something on the backside of that lumber?
I installed the KC HiLites FE4 Grill Light Kit from Shadowmarq Industries. The installation was easy with the help of YouTube instructions, but the wire connections have been a pain—I still haven’t figured them out.
The lights look much better than the factory ones, though!

View attachment IMG_4688.jpg


The lights look much better than the factory ones, though!
View attachment IMG_4688.jpg
Looks way better than I imagined. I got the Baja 80s and I think I prefer that lol but this isn't bad at all.
Absolutely love that Owl Bull Bar!View attachment 7871307
It’s no close up but it’s what I have handy. The little tabs holding them in break easy to get the process started. A couple of tiny flatheads helps as well.
That's the OEM bar. Here's Owl's bullbar.Absolutely love that Owl Bull Bar!
Picking a color would be rough. I like the deep red and the green. But would probably go with a white one in the end.Every time I see that blue with white roof I’m more and more wowed.
CONGRATS!!!!!!!
Absolutely love that Owl Bull Bar!
Thats the factory bar from Australia but thanks! I think theirs is coming soon enough though.
First things first - got it home from the dealer and moved Opus from Bluzer (Blue FJ Cruiser) to Greer (Green Grenadier).  Any Bloom County homies out there?

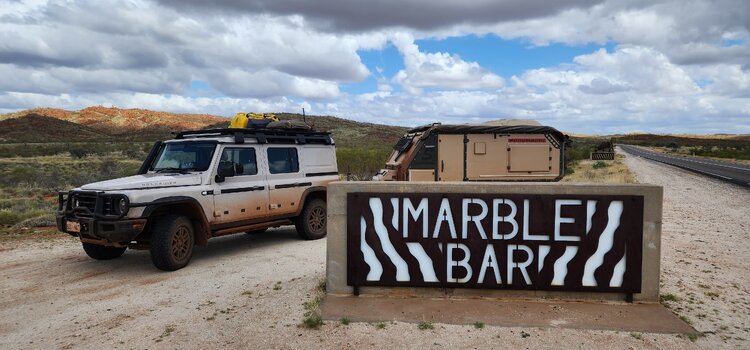
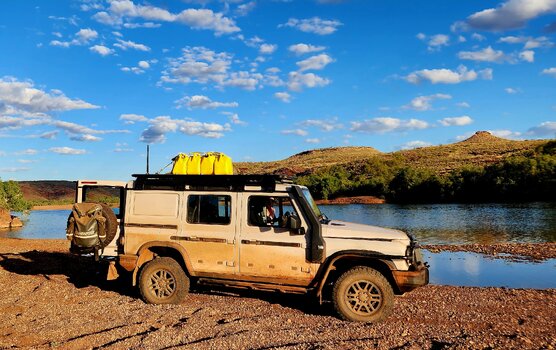
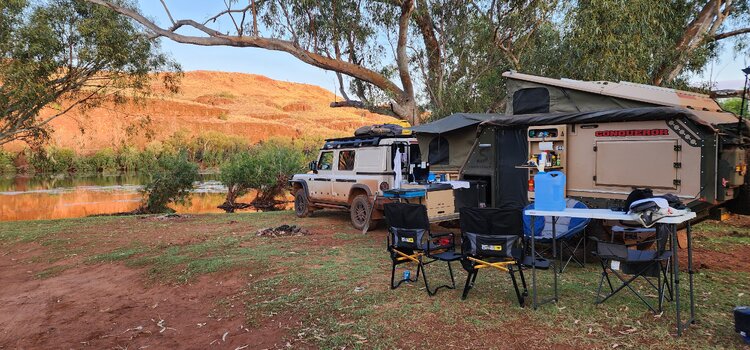
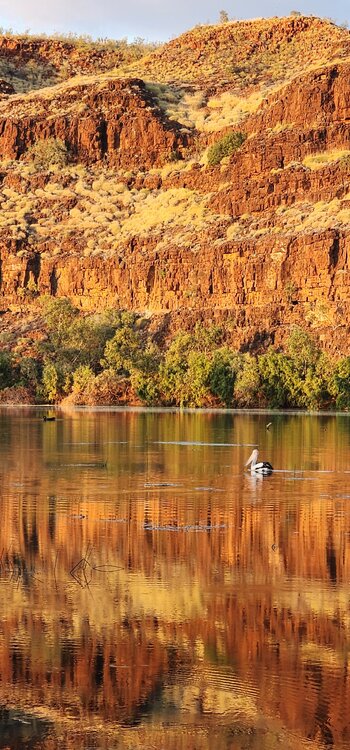
Camped out at Curawine Gorge, weather was fantastic, super impressed with the Grenadier, I can understand when they say its built on purpose, roads were washed out and really should have been closed, the Grenadier got us through, my co-pilot didn't film any of the harrowing scenes as she was shitting herself 

Attachments
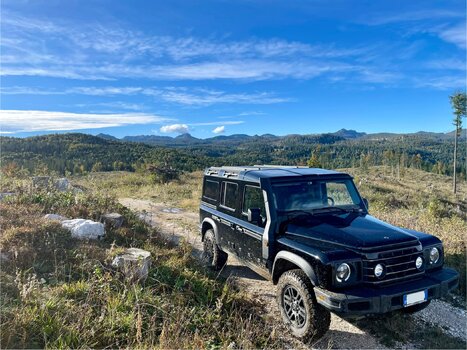
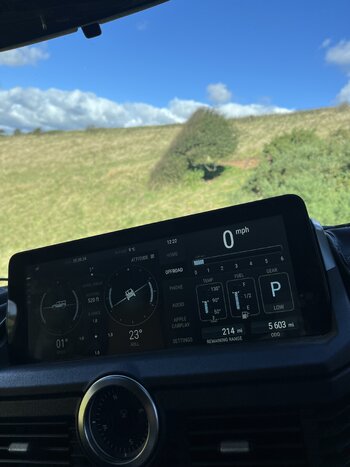
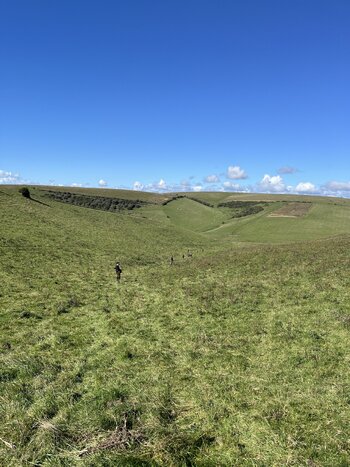
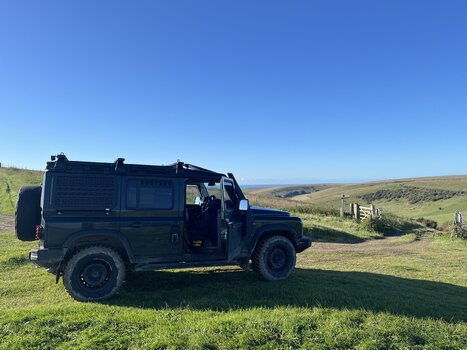
Nice weatherOut on the South Downs yesterday.
Low, centre locked, occasional rear locker - no problem.
I as very fortunate it was not raining. Been a very wet September, 9.1 inches of rain in one town in the UK so far this month.Nice weather
I was in the UK last month, weather was ok, quite "warmish" apparently the sun continued for a bit!I as very fortunate it was not raining. Been a very wet September, 9.1 inches of rain in one town in the UK so far this month.
Another weekend and some more tinkering...
I added the victron 500A battery monitor shunt. I had left the car with the power switch on and used up a lot of battery from my fridge. Car started but it was at 20%. The monitor is great, gives me prediction of how long my battery will last at current power draw etc.
Also took off my side steps in preparation for my new rock sliders from dissent off-road that is being installed on Friday.
Also cut the rival sk8dplate. I noticed when I took it off that it had made contact in that corner. Super easy to do with a jigsaw and aluminum blade.
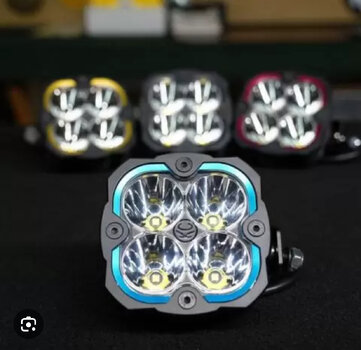
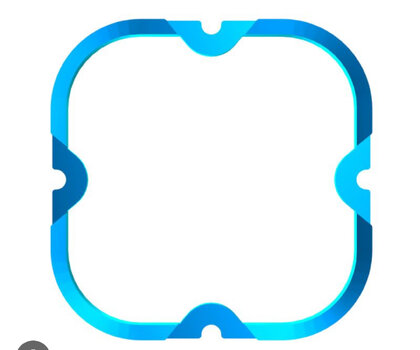
I think these will be the winner for me. Along with a blue bezel to match the eldoret blue grenadierI installed the KC HiLites FE4 Grill Light Kit from Shadowmarq Industries. The installation was easy with the help of YouTube instructions, but the wire connections have been a pain—I still haven’t figured them out.
The lights look much better than the factory ones, though!
View attachment 7871338
View attachment 7871341
View attachment 7871342
View attachment 7871343
They are spendy ($1250 for the kit) due to the custom enclosure likely but I think they look great as compared to square lights retrofitted into round enclosures.
Attachments
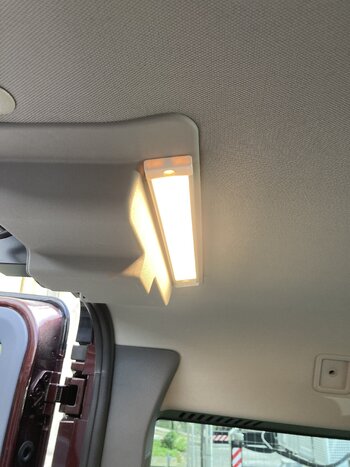
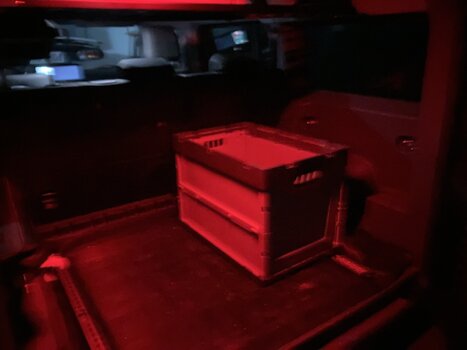
I finally installed my new light in the cargo area.
I purchased a flat LED light from Amazon
(https://www.amazon.de/gp/aw/d/B0BK8BYJ7L?tag=globalgrena0b-20)
I took out the original light and cut the cable. Then I crimped normal plugs on each side, so I can reconnect the old light if I want to.
I pulled the plastic cover over the lock down on its “motor” side. It cones out there easily. The “exhaust” side is still fixed at the height of the door sealing.
I pushed a speakers wire from the hole of the original light to the plastic cover (under the roof lining)
One hole for the new lights cables in the plastic cover, two screws as well, three more sets of crimped plugs (new light and speakers wire on both sides) and everything has been finished.
I build in my Bison Gear rack and everything is perfect!
The light is dimmable, can be switched to red for hunting and switched off. It doesn’t shine out in your eyes as the plastic cover is bend inwards and hides it from outside (at least for my height) on the other side it gives plenty of light under the rack as well.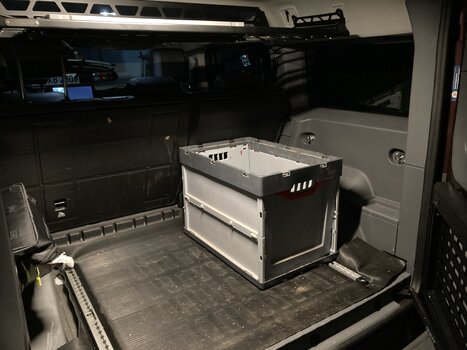


Last edited:
looks good. Unfortunately the link doesn't work (>says "your order")I purchased a flat LED light from Amazon
(https://www.amazon.de/your-orders/pop/?tag=globalgrena0b-20)
.
Similar threads
- Replies
- 155
- Views
- 8K
- Replies
- 5
- Views
- 419
- Replies
- 13
- Views
- 674

