- Local time
- 10:55 PM
- Joined
- Jun 27, 2022
- Messages
- 55
Hello, since I wanted to install a subwoofer because the sound was not good for me, I made a small tutorial here. The whole thing was installed by me with the best of my knowledge and conscience, but this does not mean that it was carried out perfectly and error-free! Everyone acts as he wants Since my English is not so error-free, I was supported by a program, so whoever finds errors can keep them
 So and off we go
 The whole thing was realised with a Pioneer TS-WX130DA. This is not too expensive and fits perfectly under the front seat. I will build another bracket so that the tool still fits under the seat.

The first step is to remove the centre cover on the B column. This one is only clipped but still doesn't just go down. Have a few spare clips ready, as they like to break.


After that, the tread mouldings front and rear must be removed. This step is the easiest
If the treads are down, the lower cover of the B column must be down. This has 4 screws: 2 top Torx 30 and 2 bottom 10mm


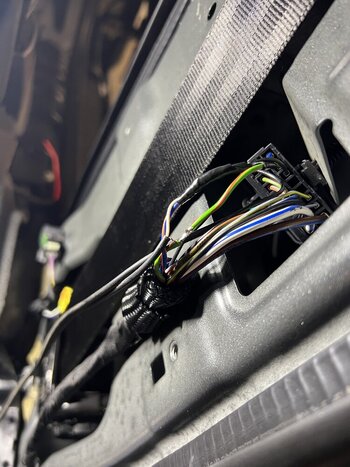
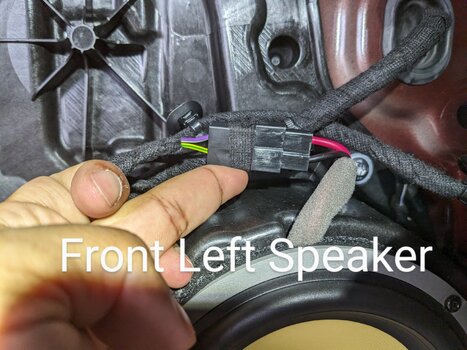
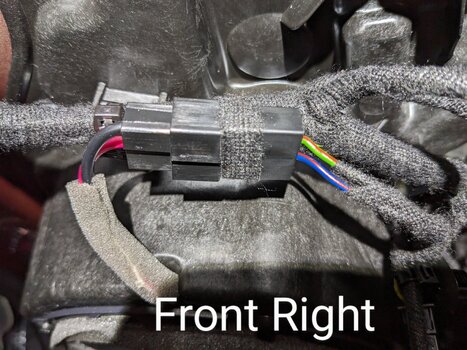
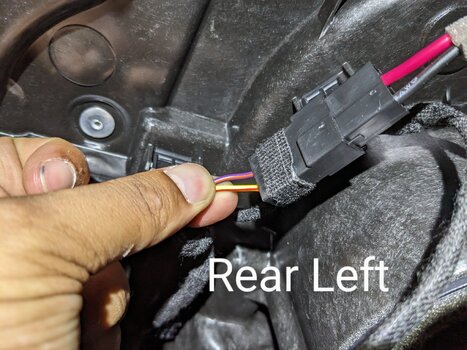
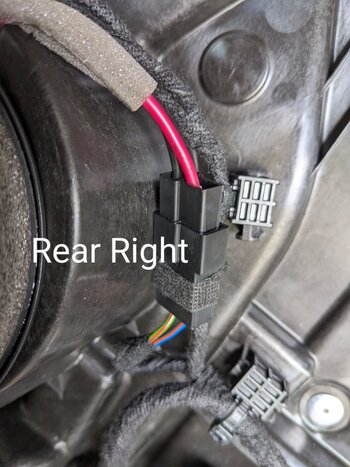
That's what the whole thing looks like. The cables for the speakers are twisted and have a black mark. I did not cut these extra, but only removed the insulation with the cutter. The whole thing can be done as minimalistically as possible because the subwoofer only needs an input signal and no power is required from the cables. A cinch extension is absolutely sufficient. This is briefly soldered and cleanly insulated again. You can also solder on the plug, but this could not be easily separated with me and also have no matching grimp connecters....

We continue on a new page because I don't know how many photos the post can handle
The first step is to remove the centre cover on the B column. This one is only clipped but still doesn't just go down. Have a few spare clips ready, as they like to break.
After that, the tread mouldings front and rear must be removed. This step is the easiest
If the treads are down, the lower cover of the B column must be down. This has 4 screws: 2 top Torx 30 and 2 bottom 10mm
That's what the whole thing looks like. The cables for the speakers are twisted and have a black mark. I did not cut these extra, but only removed the insulation with the cutter. The whole thing can be done as minimalistically as possible because the subwoofer only needs an input signal and no power is required from the cables. A cinch extension is absolutely sufficient. This is briefly soldered and cleanly insulated again. You can also solder on the plug, but this could not be easily separated with me and also have no matching grimp connecters....
We continue on a new page because I don't know how many photos the post can handle

