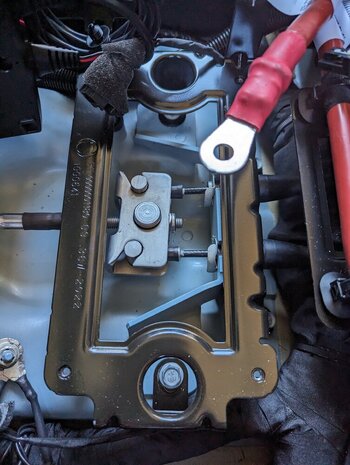
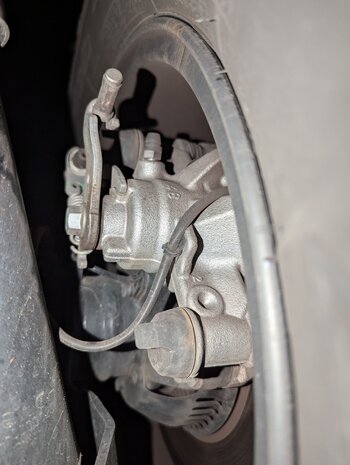
I adjusted the park brake on my Grenadier today. It's a conventional three-cable system. A front cable connects the handle to a joiner that connects to two rear cables, one for each rear brake caliper. The joiner incorporates the system adjustment point. I could not locate a 2nd adjustment point under the park brake handle as is common.
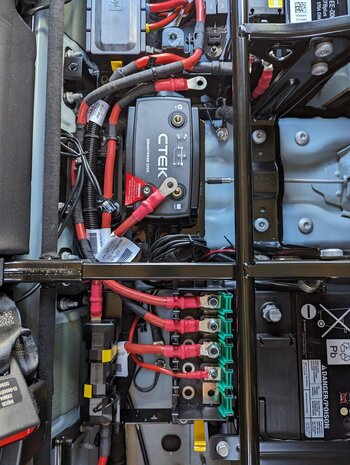
The joiner is under the back seat. If you have the auxiliary battery and Smartpass option like I do then it's a fairly crappy job to get to it. It's under the Smartpass so that needs to be removed.
Park brake adjustment is via a 14mm nyloc nut. Very little of the nut is exposed so it's not easy to get a tool onto it.
I chose to remove the 4x under seat trim panels first because I will be adding a CTEK D250SA (non lithium) DC-DC charger and am investigating if a RedArc brake controller will fit under the back seat.
Both batteries were disconnected at the negative terminal. No issues when reconnected. All settings were retained and no errors presented.